Pumpkin Spice French Toast

Pumpkin Spiced French Toast

It still feels like summer here on the East Coast, but fall is fast approaching. Fall is my favorite! I can’t wait for the cooler days and the leaves to change color, to be able to wear jeans without sweating to death, and sweatshirts. Who doesn’t love a cozy sweatshirt? There have been a few hints of fall this week with a couple of leaves falling and the nights becoming slightly cooler. It has gotten me in the mood. I make pumpkin muffins at the beginning of the week, and here we are making pumpkin spiced french toast. No, I do not drink Pumpkin Spiced Lattes, that’s yucky, too sweet, but I love the real stuff. Also, pumpkin is a vegetable, and, to be honest, I used butternut squash puree today so it’s another sneaky way for me to put veggies in everything. Toddler approved!

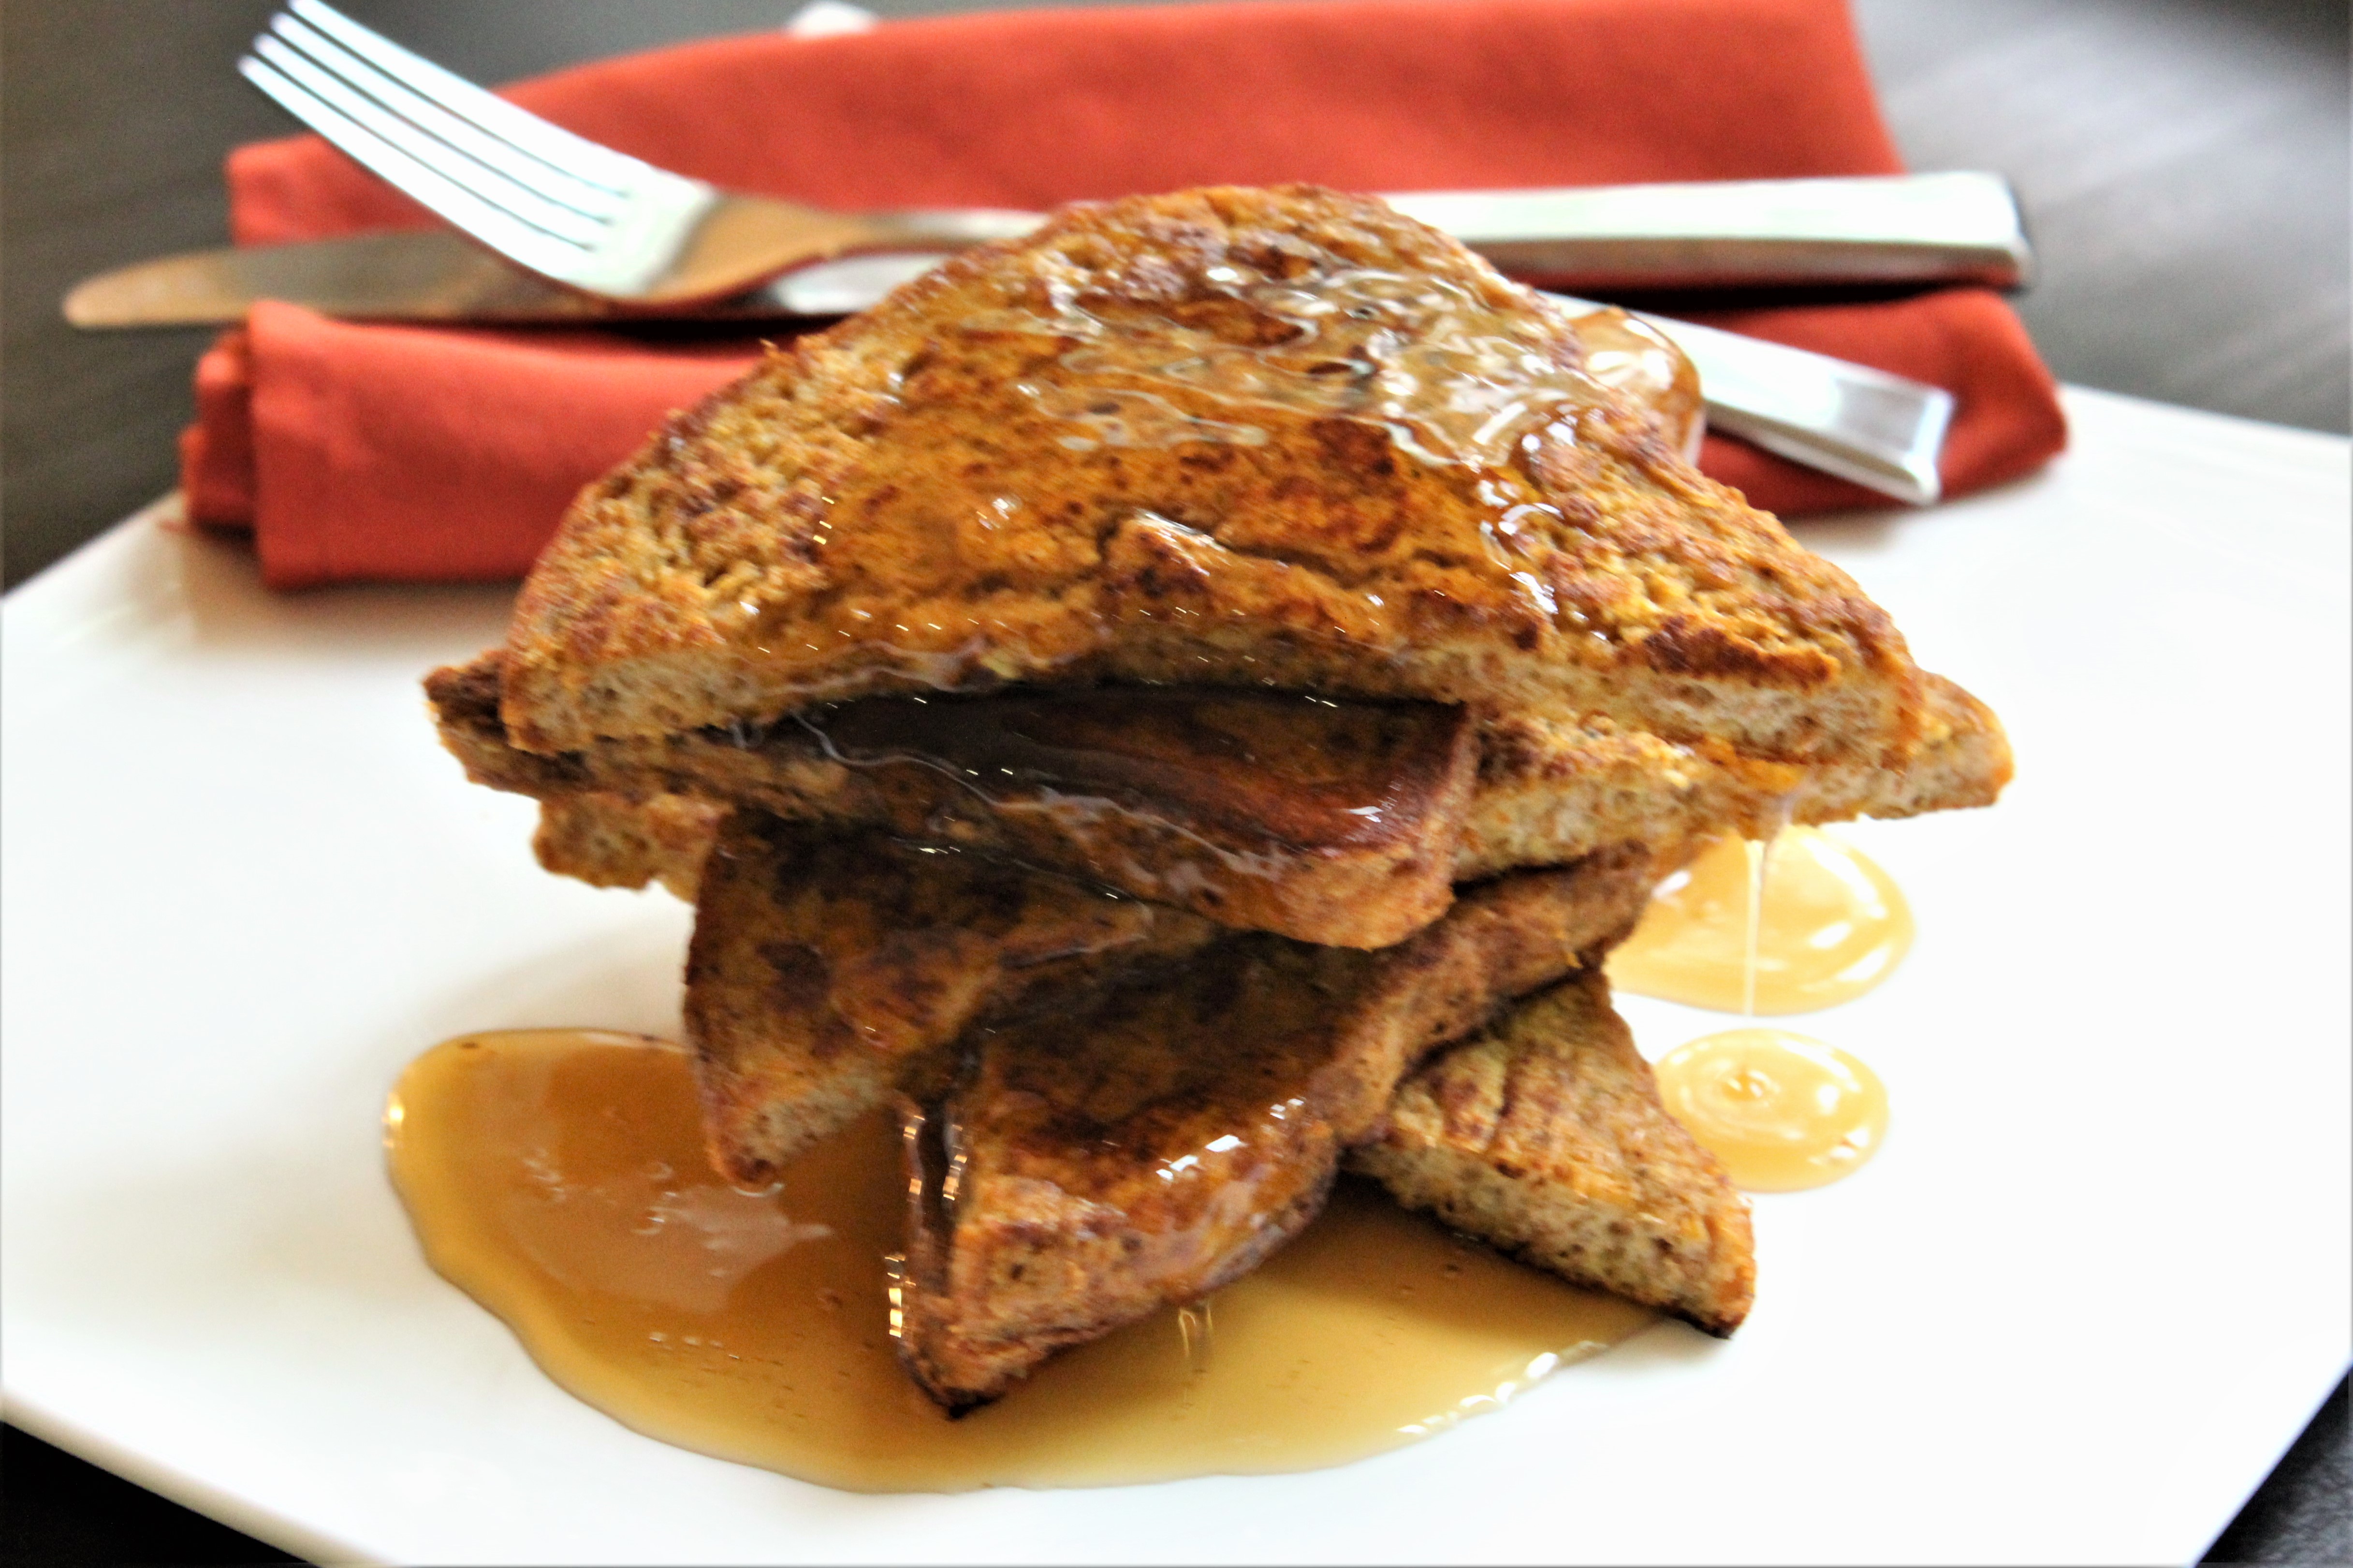
Top this fragrant french toast with maple syrup, coconut whipped cream, cinnamon roll topping, or anything else your heart desires.

 Ingredients

  • 2 happy eggs
  • 1/2 cup pumpkin puree or butternut squash puree
  • 1 tsp pure vanilla extract
  • 1/2 tsp ground cinnamon
  • 1/8 tsp ground cloves
  • few dashes nutmeg
  • 6 slices whole grain bread (I used a flourless sprouted bread)
  • Coconut oil for cooking

Instructions

  1. Whisk the eggs until uniformly yellow.
  2. Add pumpkin, vanilla, cinnamon, cloves, and nutmeg whisking to combine.
  3. Dip bread into batter one slice at a time, and allow to rest while your pan pre-heats. This lets the batter soak into the bread a bit which makes for a better texture.
  4. Heat a large skillet over medium heat.
  5. Once the pan is hot add oil and swirl to coat the bottom of the pan.
  6. Add bread in a single layer leaving room between the slices. I have to cook this in 2 batches.
  7. Cook on the first side until golden brown, 2-3 minutes, flip and cook until the second side is also golden brown, a few more minutes.
  8. Serve hot with topping of choice.

Sweet Potato Pancakes- toddler friendly

sweet potato pancakes

My little lovelies enjoy their pancakes. Traditional pancakes are not a nutritional powerhouse, but we can fix that! These are made with whole grains, add protein with the eggs, some vegetables, and pack in the flavor. All that, and they’re still light and fluffy! I can’t wait until my girls are old enough to be shocked by the fact that most pancakes don’t have vegetables in them (insert evil laugh here). I mix it up with the vegetables, but sweet potato, pumpkin puree, or spinach are the favorites in our house. This week will focus on the beautiful sweet potato.

For my girls I serve them plain, no butter or syrup, and then pack them to go. These also freeze extremely well and will thaw on the go if you like to do big batch cooking.

 Ingredients

  • 1 small very ripe banana or an additional 1/2 cup puree of choice, they just won’t be quite as sweet
  • 1 cup sweet potato puree, or pumpkin puree
  • 2 eggs
  • 1 tsp pure vanilla extract
  • 1 1/4 cups spelt or whole wheat flour
  • 1/4 cup all purpose flour or more whole grain flour
  • 2 tsp baking powder
  • 1/4 tsp baking soda
  • 1/4 tsp salt
  • 1/2 tsp ground cinnamon (optional)
  • 3/4 cup milk, kiefer, water, or a mixture of these – nondairy is fine

Instructions

  1. Mash banana in a medium bowl with the sweet potato puree.
  2. Add eggs and vanilla whisking to combine.
  3. Add flour, baking powder, baking soda, salt,spices, and milk and stir together. If mixture needs more liquid add it to your desired consistency. Thicker batter makes thicker pancakes, thinner batter makes thinner pancakes.
  4. Heat a large skillet, I use my biggest cast iron pan, over medium heat.
  5. Once pan is hot add a small amount of oil to prevent pancakes from sticking.
  6. Pour batter into the pan making sure to leave enough room between the pancakes to flip them!
  7. Cook on first side until bubbles that form on pancakes burst and edges start to dry out.
  8. Flip and cook until golden brown on second side.
  9. Serve hot.

Even Better Vegan Chocolate Chip Cookies

I posted a recipe for chocolate chip cookies a long time ago; I have been using the same recipe for ages, and it is delicious! However, in the last year I learned a few things about chocolate chip cookies thanks to Food Lab and my BFF Kenji (yes this friendship is all in my head). The two things that I have incorporated into my recipe are the refrigerate the dough overnight, and to finish the cookies with salt. These two simple steps are a game changer. The texture of the cookies is a bit softer, and they develop a deeper flavor. Yummy. The salt, I feel is just the perfect addition to bring out the flavor of the cookie, and as a counter point to the sweetness.

If you are in a rush you can bake these right away, but I would only bake as many as you need and save the rest of the dough for the next day.

 Ingredients

  • 1/2 cup neutral flavored oil (I use refined coconut oil)
  • 1/2 cup Earth Balance buttery sticks
  • 1/2 cup brown sugar
  • 1/3 cup white sugar
  • 1 1/2 tsp. vanilla extract
  • 3 TBL water
  • 2 1/4 cups all purpose flour
  • 1 tsp. baking soda
  • 1/2 tsp salt
  • 1 1/2 – 2 cups chocolate chips
  • kosher salt, or other coarse salt for finishing

Instructions

  1. In a medium bowl cream together oil, Earth Balance, brown and white sugar, vanilla extract, and water mixing until smooth and creamy.
  2. Add flour, baking soda, and salt giving dry ingredients a stir before combining with the creamed mixture. Mix dry and creamed mixture just until combined.
  3. Add chocolate chips and stir to incorporate.
  4. Place covered mixture in an airtight container and refrigerate overnight.
  5. The next day remove the cookie dough from the refrigerator and allow to sit for about 20 minutes so you can scoop into it.
  6. Preheat oven to 350 F.
  7. Drop cookie dough by the spoonful onto ungreased cookie sheets leaving 2″ between each cookie.
  8. Bake for 8-10 minutes until golden brown.
  9. Sprinkle cookies with salt, just a few grains per cookie, then transfer from cookie sheet onto cooling rack immediately.
  10. Wait a few minutes before eating to prevent burning your mouth on hot chocolate chips.
  11. Enjoy responsibly.

Easy Gluten Free 2 Ingredient Frozen Yogurt (vegan or not)

Easy Gluten Free 2 Ingredient Frozen Yogurt (vegan or not)

My oldest daughter calls sunscreen “ice cream.” Super cute, and funny as it means I have yet to convince her that ice cream is a totally different item. I decided to make this with her to give her a small taste of what ice cream is. I usually don’t even let her have yogurt with sugar in it (she loves plain), but I made an exception here. She thought it was pretty great.

This is a super simple combination of frozen fruit and yogurt that makes a creamy, fruity, frozen concoction that fills any need for ice cream. It works with both vegan and dairy yogurt. I like to use the sweetened yogurt here, but plain would be fine if you are ok with a fairly tart yogurt. If you use sweetened yogurt and it isn’t sweet enough for you add a touch of agave or maple syrup. It will depend on how sweet the fruit is that you use. I used peaches for this batch, but pretty much any frozen fruit will work. I haven’t met one yet that doesn’t.

Happy summer!

 Ingredients

  • 1/2 cup sweetened vanilla yogurt (non-dairy is fine)
  • 2 cups chopped frozen fruit (I used peaches)
  • Optional – sweetener such as agave, honey, or maple syrup
  • Optional-Vanilla or almond extract 1/4 tsp or so

Instructions

  1. Place yogurt, then frozen fruit in a high powered blender or food processor and blend until smooth.
  2. You will need to stop several times to scrape the sides.
  3. Serve immediately. It doesn’t freeze well. You could keep it in the freezer for an hour or so, but much longer it gets very hard and doesn’t thaw consistently so it is best eaten in one sitting.