Hey, my name is Adrianne, but I like to call myself the Happy Food Ninja! I am excited to share my love of food and cooking with you. My goal is to introduce you to easy ways to make delicious food, no matter what diet you subscribe to.
I had a different post all ready to go, then it started to feel like fall. I love fall; the crispness in the air, the change of leaves, the cooler temperatures, drinking hot coffee, and being able to bake without feeling like I’m going to melt. In the last few weeks ads for pumpkin spiced lattes have appeared everywhere! I have never had one, but I do like pumpkin and spices in my food:)
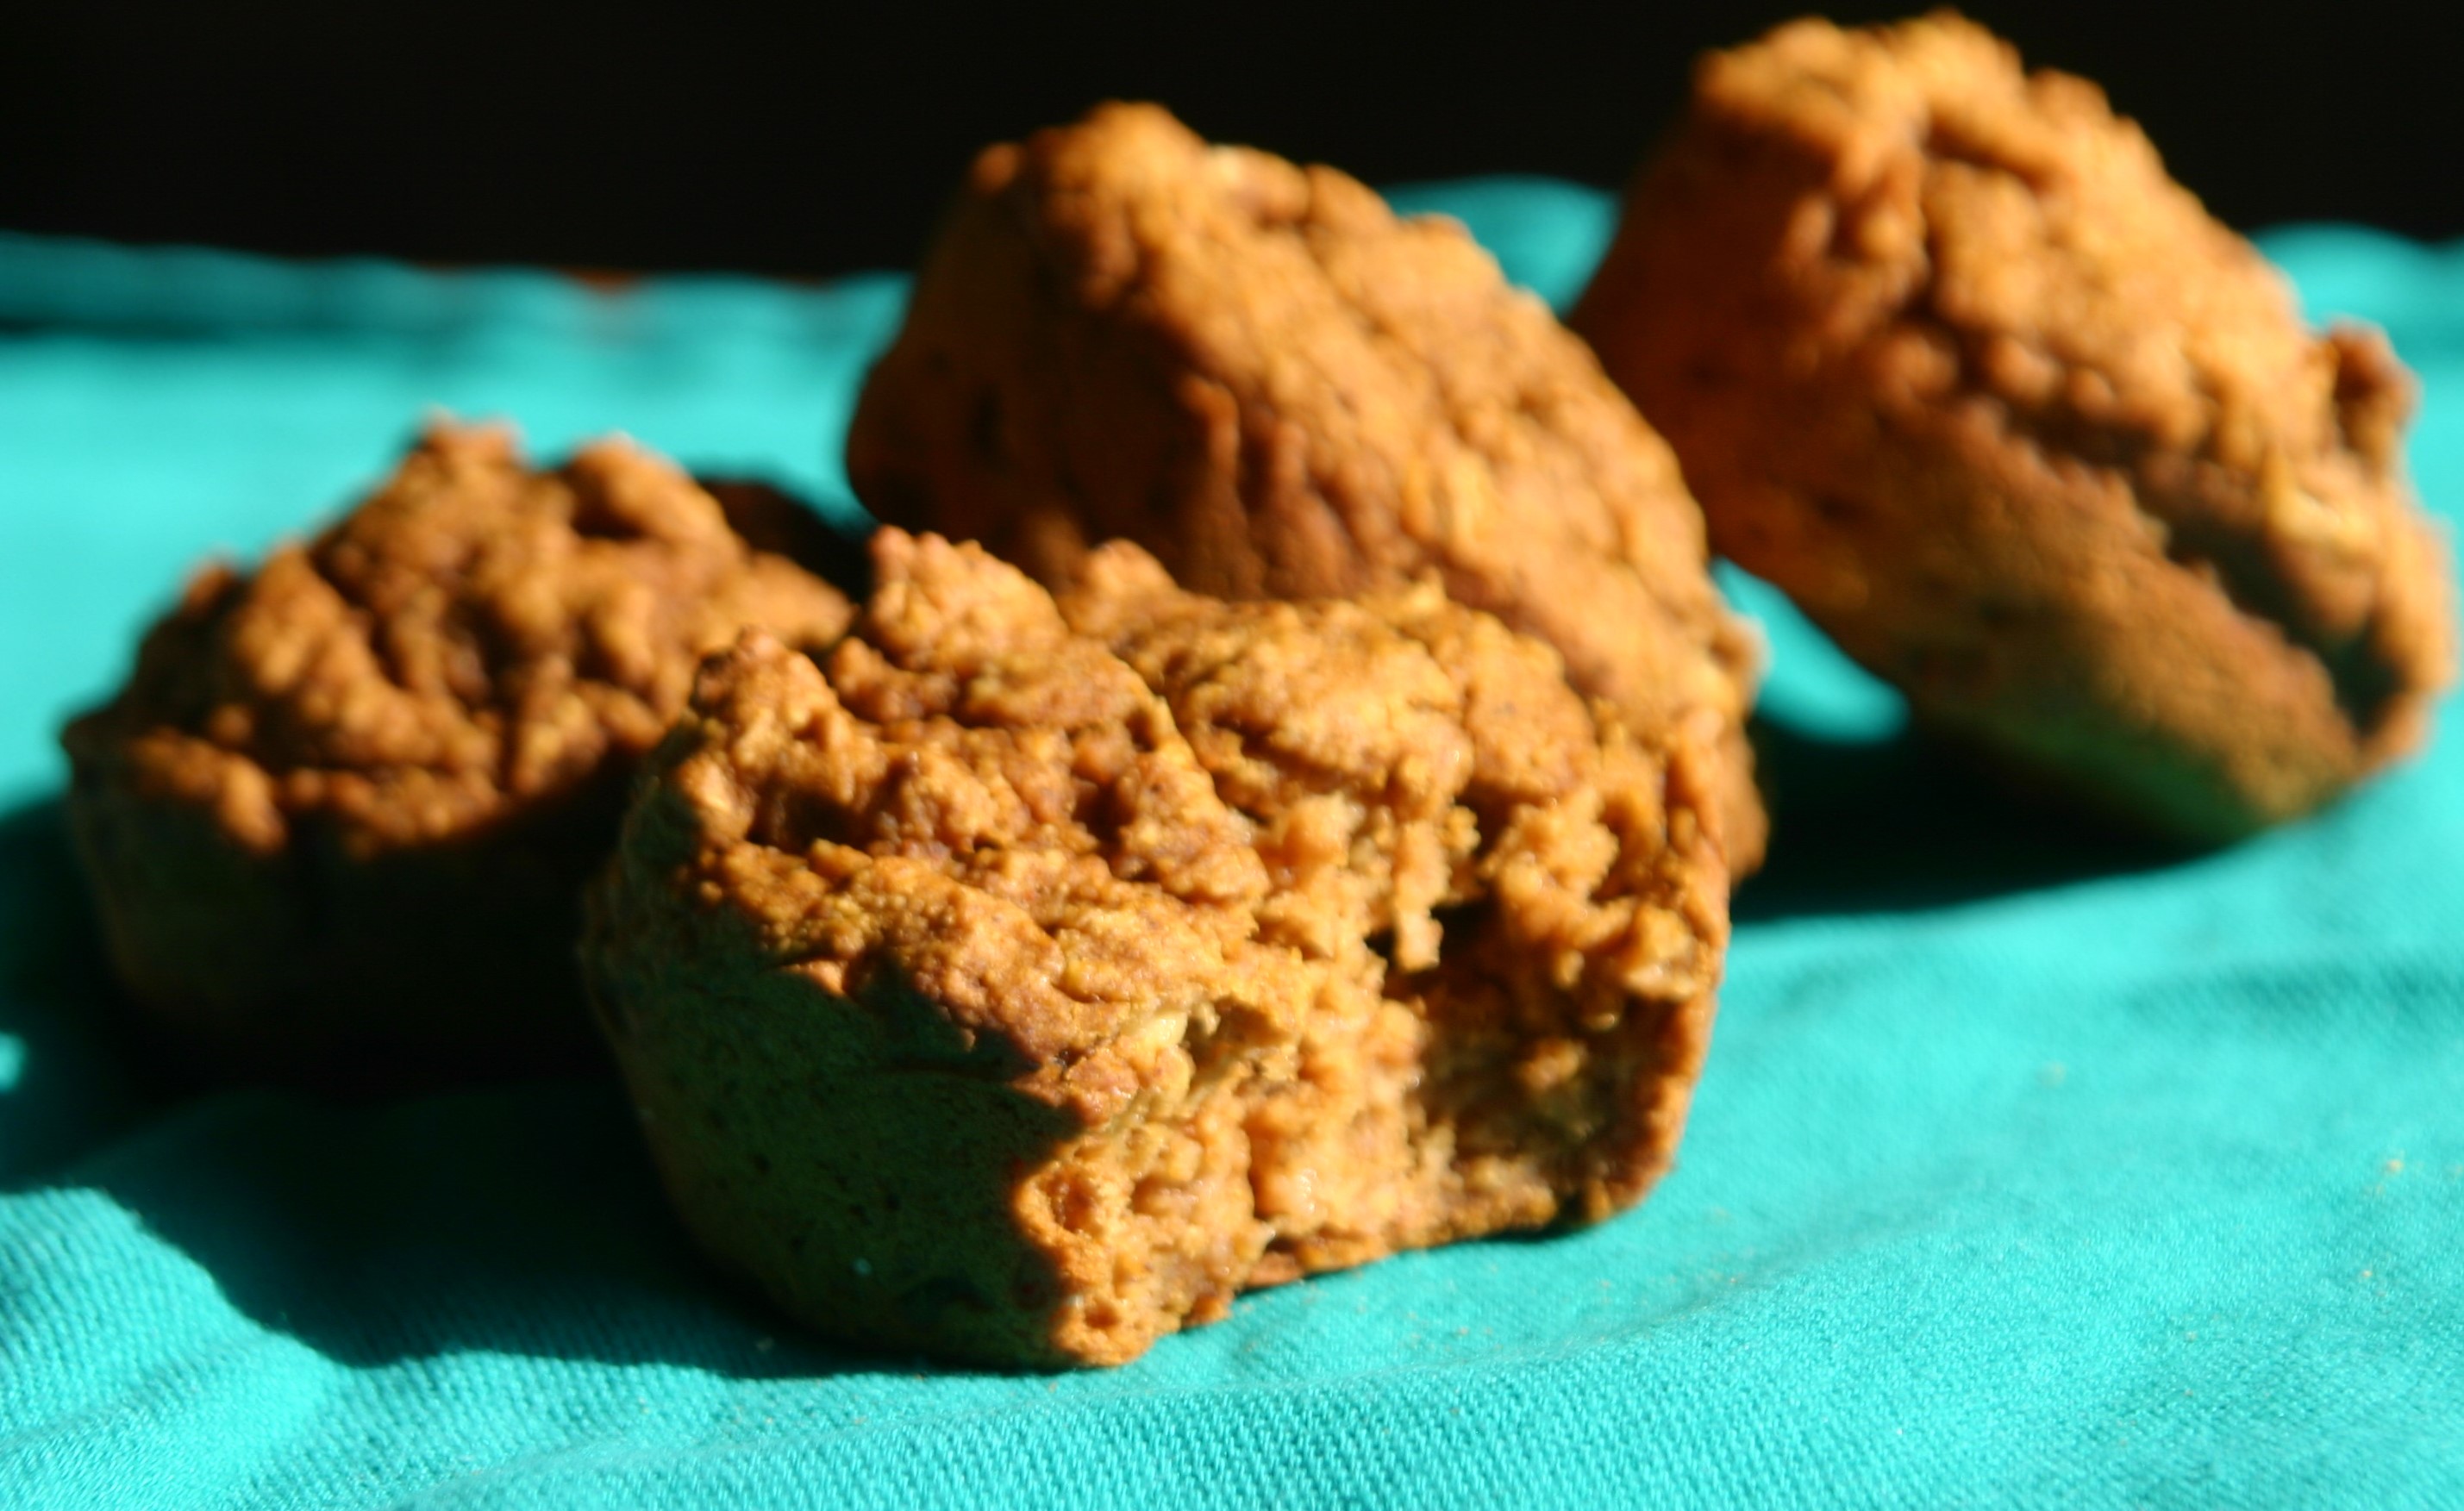
These muffins are full of vegetables and whole grains, yet are still delicious! They are moist, singing with warm spices, and bring thoughts of sitting outside watching the leaves fall and drinking tea. For me fall is a time to snuggle in, and get ready for new beginnings. I have started most of my jobs in the fall, started school, and moved several times in the fall. I even married my amazing husband in the fall almost four years ago. I love thinking of that time, and remembering the excitement I felt as we prepared for the big day, and enjoying the peace after it was all over. The weather brings it all back for me and I love it! I hope you are finding peace within yourself as you prepare for the change of seasons. These muffins are the perfect snack to have while taking time to enjoy the present, or plan for the future.
Pumpkin Spice Muffins
Ingredients
1 cup oat flour
1 cup spelt or wheat flour
1 tsp ground cinnamon
1/4 tsp group cloves
1/4 tsp powdered ginger
1/4 tsp ground nutmeg
1/2 tsp salt
1 cup shredded summer squash (yellow), or apple, or carrot, or hard squash, or whatever you have on hand.
1 cup pumpkin puree (I used canned)
1/3 cup non-dairy milk
1/3 cup pure maple syrup
3 TBL mild tasting oil (sunflower, canola)
1 TBL apple cider vinegar
Instructions
Preheat oven to 375 degrees F. and prepare a 12-cup muffin pan with paper liners or oil.
Whisk together the dry ingredients (flours, cinnamon, cloves, ginger, nutmeg, and salt).
Stir in the wet ingredients (squash, pumpkin, milk, syrup, oil, vinegar, until just combined.
Pour the batter evenly into the prepared muffin cups.
Bake in preheated oven for 20-25 minutes until a toothpick inserted in the center of a muffin comes out clean.
Let them cool for about 5 minutes in the pan before removing them to a cooling rack.
Enjoy warm, cool, or freeze for a quick breakfast.
We just got back from a wonderful trip to San Diego and I’m already missing my friendsTcl there. We had such a wonderful time visiting old friends, eating awesome food,playing at the beach, and sneaking in a visit to my sister-in-law. My sister-in-law is an amazing photographer at Classic Kids Newport Beach and we were lucky enough to have her take some amazing pictures of Wolfie, our family, and even a few with our friend. I never knew how awesome it is to have pictures of you child until now. I was stunned when I saw how she caught my baby’s thoughts and feels as they flitted across her face, each captured as if she paused time for me to soak in every nuance of Wolfie’s expressions . It was a powerful experience.
Other than having pictures taken and being with friend, eating yummy food topped my list of favorite vacation memories. We stayed with friends who also love to eat and cook. It was so fun for me to be introduced to new foods, ideas, and techniques. My friend made one amazing dish after another the whole time we stayed there. Our first morning she whipped up a batch of this coconut whipped cream for our coffee. My coffee will never be the same. The cool, sweet, creaminess of the whipped cream with the hot, bitterness of the coffee. Heaven in a cup. She also made vegan chicken and waffles, a delicious Mexican feast with cashew cilantro crema, and tomatillo salsa, sweet potato biscuits served with garbanzo bean gravy, hot sauce glazed tempeh, tiramisu french toast which we topped with an amazing aquafaba/coconut whipped cream mousse thing. Aquafaba has blown my mind! It is whipped liquid from a can of beans that turns into a vegan meringue. Ohh, my! The whole experience was wonderful and I can’t wait to try out the things I learned! Leave a comment to vote for the recipe you would like to see first. While you think on it, make this coconut whipped cream for your coffee or tea, sit back and dream of the food to come.
Coconut Whipped Cream
Ingredients
15 oz can full fat coconut milk (without an emulsifier as an ingredient. I find Thai Kitchen Organic, and Trader Joe’s Coconut Cream work wonderfully)
1/2-1 tsp pure vanilla extract
2 tsp maple syrup, or other sweetener (optional)
Instructions
Chill can of coconut milk overnight in the refrigerator.
The next day, pour off the liquid still in the can and scoop the thick coconut cream into a chilled bowl.
Whip the chilled coconut cream on high with an electric mixer until light and fluffy, about 1-2 minutes.
Add the vanilla and sugar if using and continue to whip for another 30 seconds or so.
Scoop generously into coffee, eat with a spoon, or use in your favorite recipe.
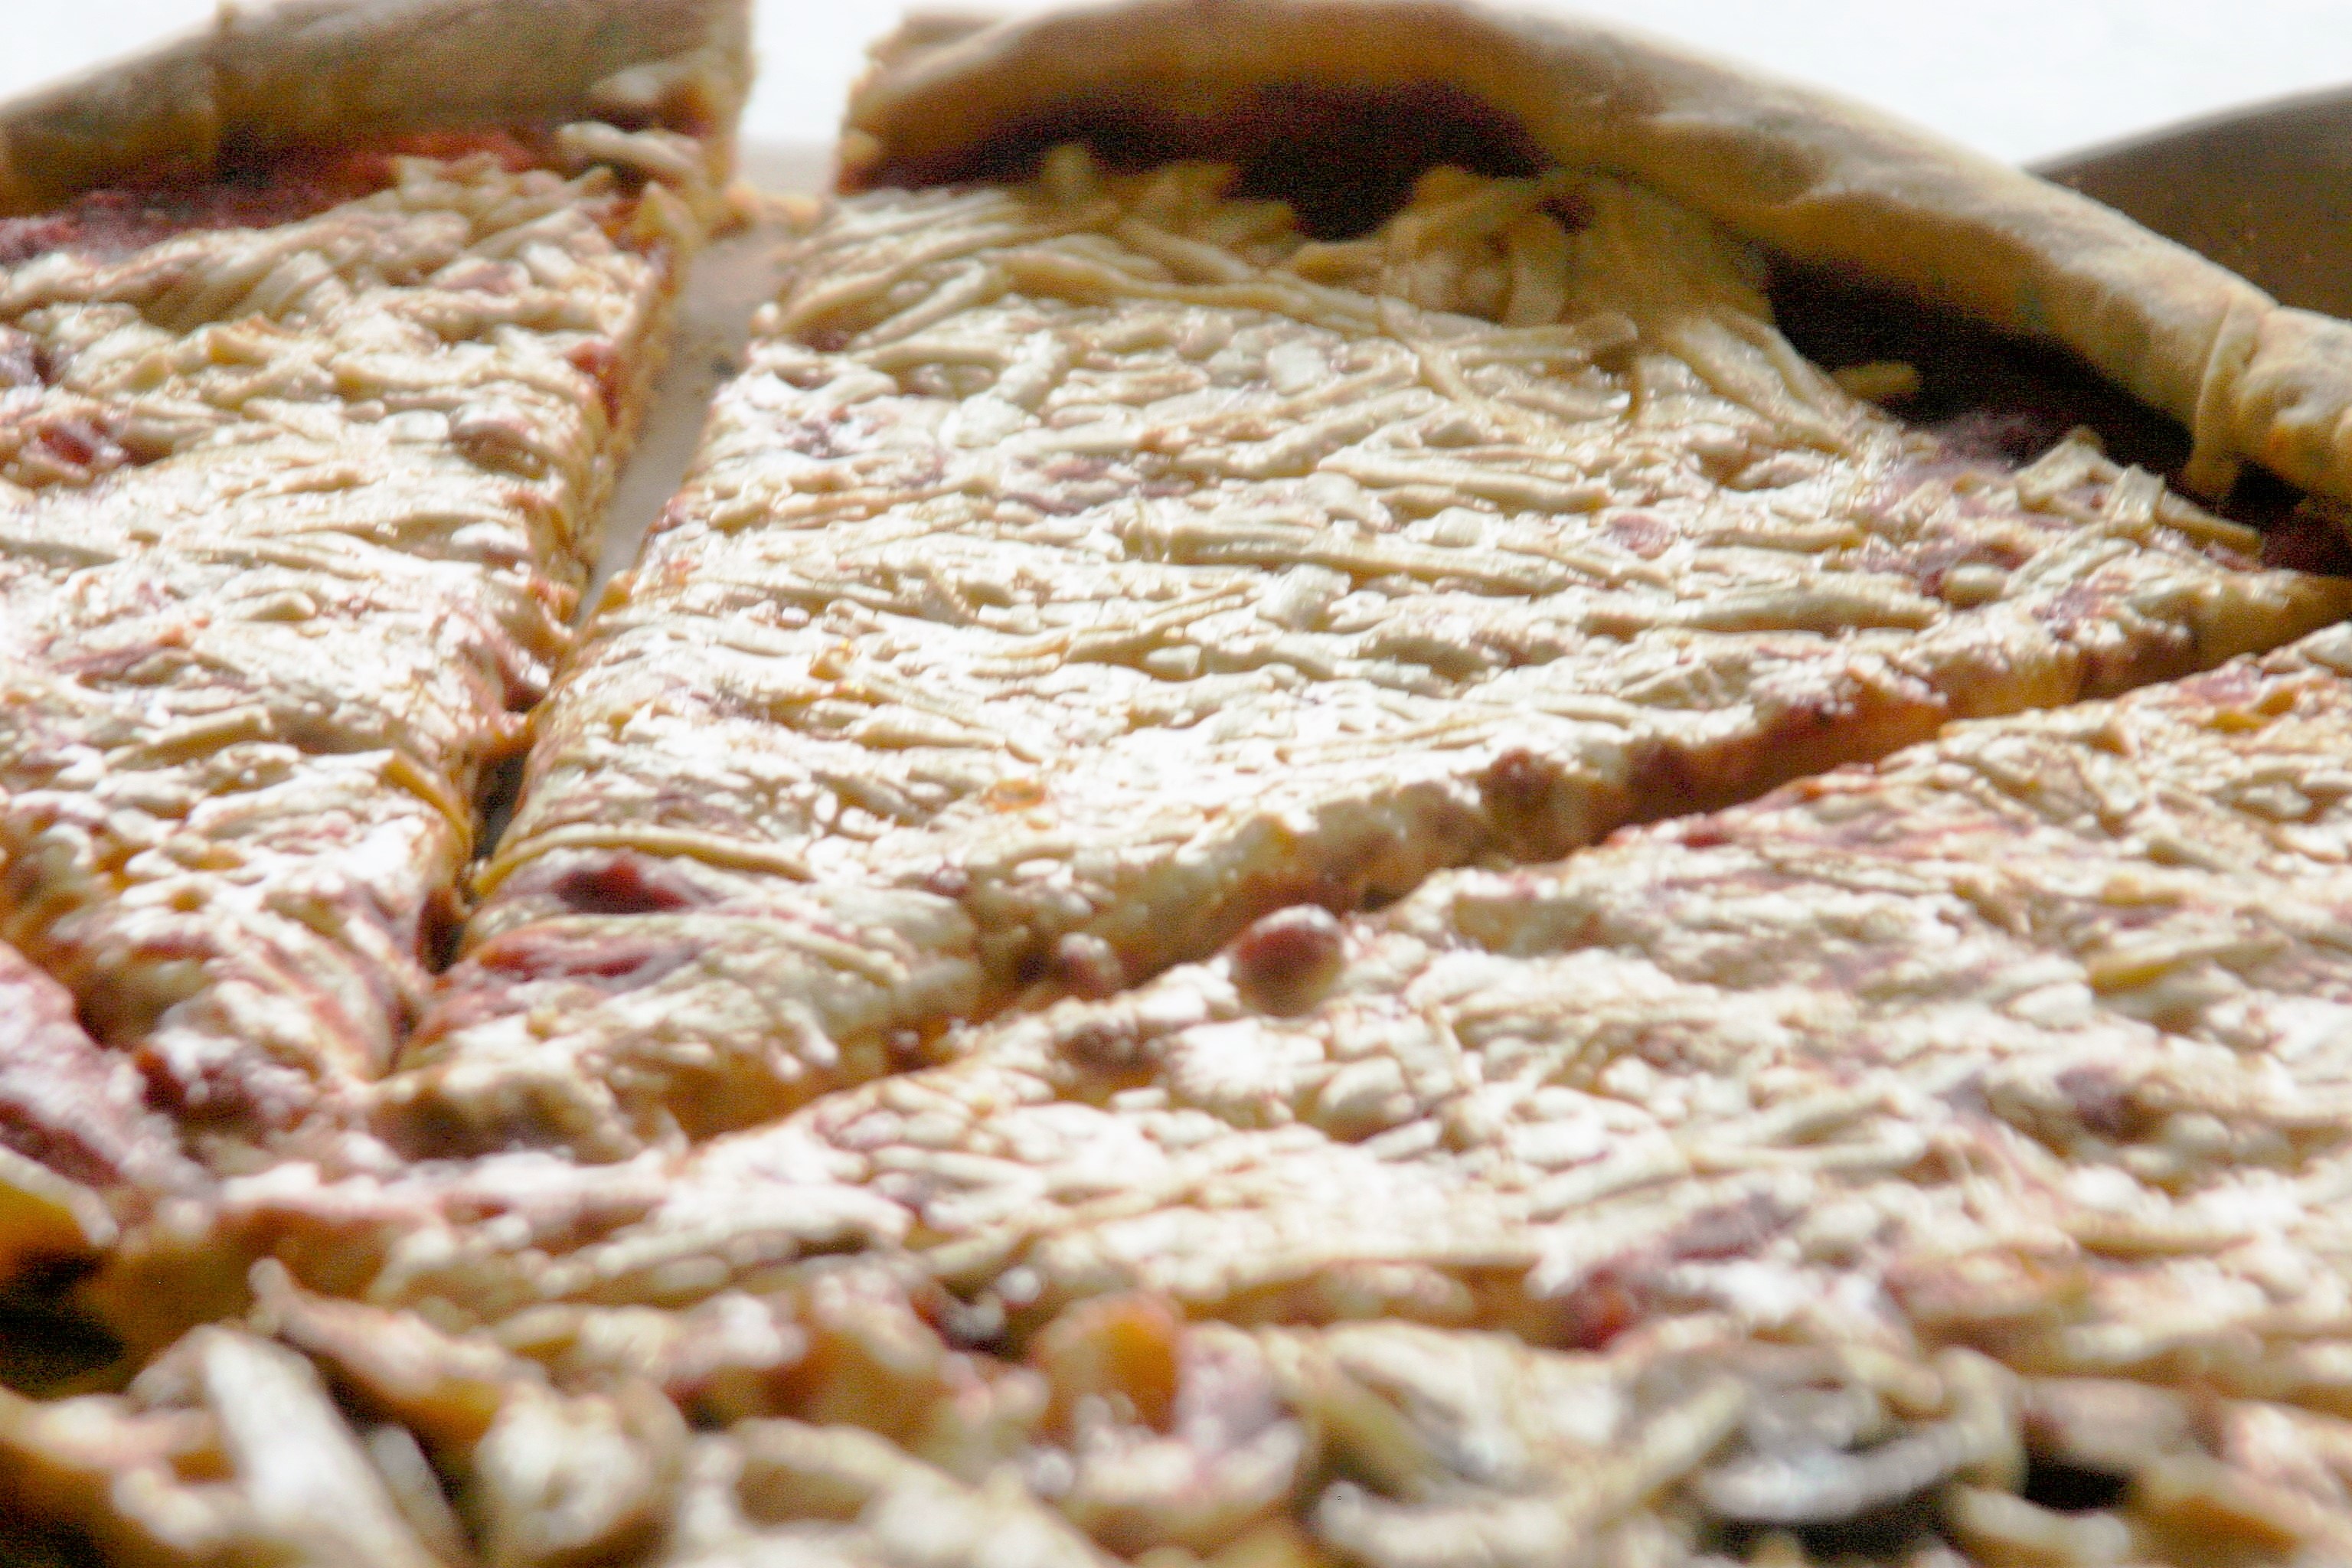
Here is a vegan pizza recipe as promised. I love homemade vegan pizza, really love it. This crust is the best and anything you put on it will be delicious! The crust is easy, versatile, and tender. The addition of Italian seasoning, while simple, really takes the crust to the next level. If you have fresh herbs (basil, oregano, thyme, rosemary) add those instead! I use this crust for pizza, calzones, pizza burritos, and for a yummy garlic butter breadstick recipe that I’ll think about sharing.
I have been without cheese long enough that the vegan cheese tastes exactly how it is supposed to and I miss nothing about “real” pizza. With that said, my husband uses real cheese on his pizza and sometimes pepperoni! We each make our own and end up happy as can be.
3-4 1/2 cups flour (I use a mixture of whatever I have on hand; whole wheat, bread flour, white flour, I have even used a few cups of Buckwheat flour mixed with wheat flour with success.)
2 teaspoons salt
1 TBL Italian seasoning
1 TBL olive oil
Pizza sauce of choice, as much as you like
Vegan Cheese, as much as you like (I use Daiya mozzarella)
Toppings of choice (onions, peppers, mushrooms, sundried tomatoes, olives…)
Instructions
Stir the sugar into the warm water in the large bowl of a heavy duty stand mixer. Sprinkle the yeast over the warm water and let it sit for 5 minutes until the yeast is dissolved. After 5 minutes stir if the yeast hasn’t dissolved completely. The yeast should begin to foam, which indicates that it is still active and alive.
Using the mixing paddle attachment, mix in 3 cups of flour, salt, and Italian seasoning on low speed for a minute.
Replace the mixing paddle with the dough hook attachment.
Knead the pizza dough on low to medium speed using the dough hook and adding flour 1/2 cup at a time until the dough is smooth and elastic, about 10 minutes. Make sure to let the dough continue to mix until all the flour in incorporated before adding more flour.
If you don’t have a mixer, you can mix the ingredients together and knead them by hand.
Once the dough is smooth and elastic drizzle the olive oil over the dough turning it to coat all the dough with a thin layer.
Cover the dough (I use a damp kitchen towel) and let sit in a warm place until it doubles in size, at least 1 hour. You can let it sit for several hours if you want. You can also put it in the refrigerator for another day before rising, and let it rise the day you are using it.
Preparing the Pizza
Once the dough has risen preheat your oven to 400.
Divide the pizza dough into as many pieces as you are making pizzas. We usually do two large with this recipe.
Roll out the dough to your desired thickness, we do about 1/4″ thick and try to make them fairly round.
Put the dough in the pan of your choice; I use a pizza stone for one and my biggest cast iron skillet for the other.
Spoon pizza sauce onto crust and spread out in a thin layer.
Add the cheese and toppings of choice.
Back in preheated oven for 15-20 minutes until the cheese is melted and the crust golden brown.
Consume as soon as it has cooled to a safe temperature.
You heard me, Pizza Burrito. Two of my favorite things join hands in this delicious combination to bring you a tangy, spicy, salty, cheesy, creamy, crunchy, soul satisfying bite. This dish was born on the drive home from a weekend climbing trip as my husband and I discussed what we should have for dinner. His go-to is pizza, and mine is burritos. We compromised/brought both our favorites to the next level.
There are two ways to go about pizza burrito making, and both are amazing. 1) make a tortilla pizza and add burrito filling, or 2) make a calzone filled with both pizza and burrito fillings. I like the calzone version better, but the tortilla version is a little less work.
I realized as I wrote this recipe I have never posted about pizza, pizza dough, or guacamole! . I’m sorry. I will rectify my oversight soon.
Something many people struggle with is what to make for dinner, and what to do with leftovers. I have an answer for both! I personally love leftovers and love turning them into something new for dinner. One of my favorite leftovers is refried beans. There are so many things you can do with them!!
We make these beans almost every week. I love beans in general, and these in particular. We usually start out by eating them the first night in tortillas, homemadeif you have the time, with rice and whatever else we have. Leftovers, if there are any, are used in many different ways. I made a chart you can see below the recipe with ideas for your leftovers.
I posted a recipe forrefried beansa few years ago, but my recipe has changed a good bit since then and I want to do do an update. These beans are not re-fried at all, they are just cooked until they are so tender they are melting. This is important for the best beans, but you can do a shortcut by mashing them in the cooking liquid if you are running out of time.
Refried Beans
Ingredients
1 cup dry pinto beans
1 cup dry black beans
water to cover beans
1 medium onion, cut into eighths
4 small whole cloves garlic
2 cups vegetable broth or 1 large carrot and 1 stalk celery cut into large chunks
salt to taste
piece of kombu (optional)
Instructions
Put both kinds of beans in a bowl, cover with cold water and soak 8 hours or overnight. OR if you decide too late for this put the beans in a pot, cover with water and bring to a boil over high head. Turn off the heat and allow to soak in the hot water for one hour.
Drain the beans from their soaking liquid.
Place the beans, onion, garlic, salt, vegetable broth or vegetables, and kombu in a large pot filling the rest of the pot with enough water to cover the beans by 2 inches.
Cook the beans over medium heat for a minimum of one hour. I cook them until they start to fall apart which is about 2 hours. I often have to add more water during cooking to keep the beans soupy enough until they are as tender as I like them.
Remove the carrot and celery if using.
You can either mash the beans at this point, or continue to cook them until they are truly falling apart.
I have been working super hard on developing a vegan ice cream non-recipe for you. I have eaten countess batches of ice cream, and tried several flavors (you have been privy to a few). I am now sharing the basic vanilla and giving you basics that I have learned through my experimentation. I hope you get to make a few batches before the end of summer.
Combine the coconut milk and scraped vanilla pods in a small saucepan over low heat.
Heat gently for about 15 minutes to steep the vanilla pods, then remove from heat and allow the milk to cool to at least room temperature.
Once cool discard the vanilla pods and combine the coconut milk, beans you scraped from the vanilla pods, vanilla extract, agave nectar, and salt and blend together briefly.
Freeze in ice cream maker according to manufacturers instructions.
Scoop ice cream into freezer friendly container and freeze for at least 2 hours before serving.
Discussion:
What is important for successful ice cream?
Texture (the combination of several ingredients to form the perfect creamy base)
Flavor (what you add to make the finished product)
How does it all work
Texture. For the perfect creamy texture you need several things: a creamy base (full fat coconut milk), a sweet syrup (agave nectar, maple syrup, or if you must, corn syrup), and, if you like, a bit of alcohol to prevent the ice cream from freezing fully.
Ratio: I have found the ratio to be one can of coconut milk (13.66oz) I have been using Thai Kitchen Organic Coconut milk at room temperature, 3 tablespoons of agave nectar, and one tablespoon of alcohol per batch.
Blending: I like to blend the mixture before freezing as it adds air which makes a lighter, creamier, easier to scoop finished product.
Coconut milk: There are a few important things to know when using coconut milk.
You HAVE to use full fat. You need the fat to make the ice cream creamy, and that is what ice cream is supposed to be.
You also need to make sure the coconut milk is fully liquid. Many brands contain emulsifiers that keep the coconut milk from separating. If you are using an organic brand, or one that separates make sure it is fully smooth. You might need to heat it to melt an combine any solid pieces.
I also recommend blending everything briefly. This makes sure the solids are combined, and also give the mixture a little extra air making the final product a bit lighter and fluffier.
Alcohol:
A little bit of alcohol keeps the mixture from freezing fully if it sits in the freezer overnight. You can simply omit it if you do not use alcohol, but the texture will be a bit different.
I like to use alcohol as the flavor, or part of the flavor in many recipes. In this recipe I used homemade vanilla extract which is simply vanilla bean pods steeped in vodka for a few months. In essence, I am using unsweetened vanilla vodka.
Agave Nectar/Syrup/Sweetener:
You need something to make everything stick together and be creamy, and also to sweeten the ice cream. I use agave nectar for this, or maple syrup if you want a maple flavor. I have read you could use corn syrup, but I haven’t tried it yet. I use 3 tablespoons per can of coconut milk. You can use more, I just don’t like it super sweet.
Flavor. Obviously flavor is important when making ice cream. This recipe is vanilla because it is basic. You can see from my mint chocolate chip and amaretto ice cream different ways to add flavor while keeping the same basic base.
You can add flavor in a few ways; you can simply dump stuff in like the extracts and alcohol, or you can steep things in the coconut milk as you warm it gently before freezing it. The steeping method would be good for tea bags, vanilla bean pods, or something you want to melt.
You can also add things in after the ice cream has frozen in the machine, but before putting it into the freezer. You would add pieces of cookie, peanut butter, any chunks of stuff at this time. You do this so the ice cream freezes consistently in the machine. You do want to keep in mind that even though you are adding these in at the end, they will affect the flavor.
I want to address salt for a minute. I call for a pinch of salt in all my ice cream recipes. Salt opens up your taste buds and allows the other flavors to shine. You do want to add it, but just a pinch. It shouldn’t be a flavor you can identify in the finished product.
Ice cream maker
I use a Kitchenaid attachment ice cream maker. It is the only one I have used. If you use something else I would love feedback on how they work and if you need to make adjustments to the recipe for other machines.
I decided I needed to include a brief description of how to make homemade vanilla extract. I bake so much (and make so much ice cream) I have to make my own vanilla or I would go broke. It is also the best vanilla ever!
Vanilla beans can be expensive so I usually buy mine online at Firehouse Pantry, or in a pinch, Amazon. I buy 4 oz at a time which keeps me in business for a few months.
Vanilla Extract
Ingredients
3 vanilla beans, split, scraped, and beans set aside for something else (see video below)
1.75 ml middle shelf vodka, I use Smirnoff
Instructions
Place the vanilla pods in the bottle of vodka, screw on the cap, and set aside for about 3 months.
You will know when the vanilla is ready when the vodka has turned brown and you smell vanilla instead of vodka.
I keep mine as is, just pouring off a little at a time to fill a small bottle for daily use, until I have used all the vanilla extract.
Once upon a time I worked for a wilderness therapy program and every night I ate the same meal. Sounds terrible, but it was actually kind of fun; you had the same basic ingredients and spices for every meal, and you had to figure out what to make with them. This is the best combination, and something I still eat to this day. I just made it again the other night and as I was eating it I remembered how much I like it. Every time I make it I think “why don’t I make this more often?” Maybe one day I’ll listen to myself. This is a super quick, easy, and very tasty meal. The curry powder brings a warmth to the dish while the cajun gives it life. It is salty, spicy, unexpected, and extremely satisfying. Enjoy around you next campfire, or after coming home from a long day in the sun, but for sure before the summer leaves us behind.
Best Ever Rice and Beans
Ingredients
1 cup rice
2 cups vegetable broth or water
2 cups refried beans or one 15oz can
2 TBL curry powder
1 TBL Cajun seasoning
1/2 tsp salt or to taste
1/2 tsp granulated garlic
1/8 tsp cayenne powder
Instructions
Bring rice and vegetable broth or water to a boil over medium heat.
Reduce heat to low and simmer, covered, until rice is tender, about 10-15 minutes.
Stir in refried beans, curry, cajun, salt, garlic, and cayenne.
Taste and adjust seasoning if needed.
Serve alone or topped with fresh tomatoes, salsa, cilantro, or whatever your heart desires.
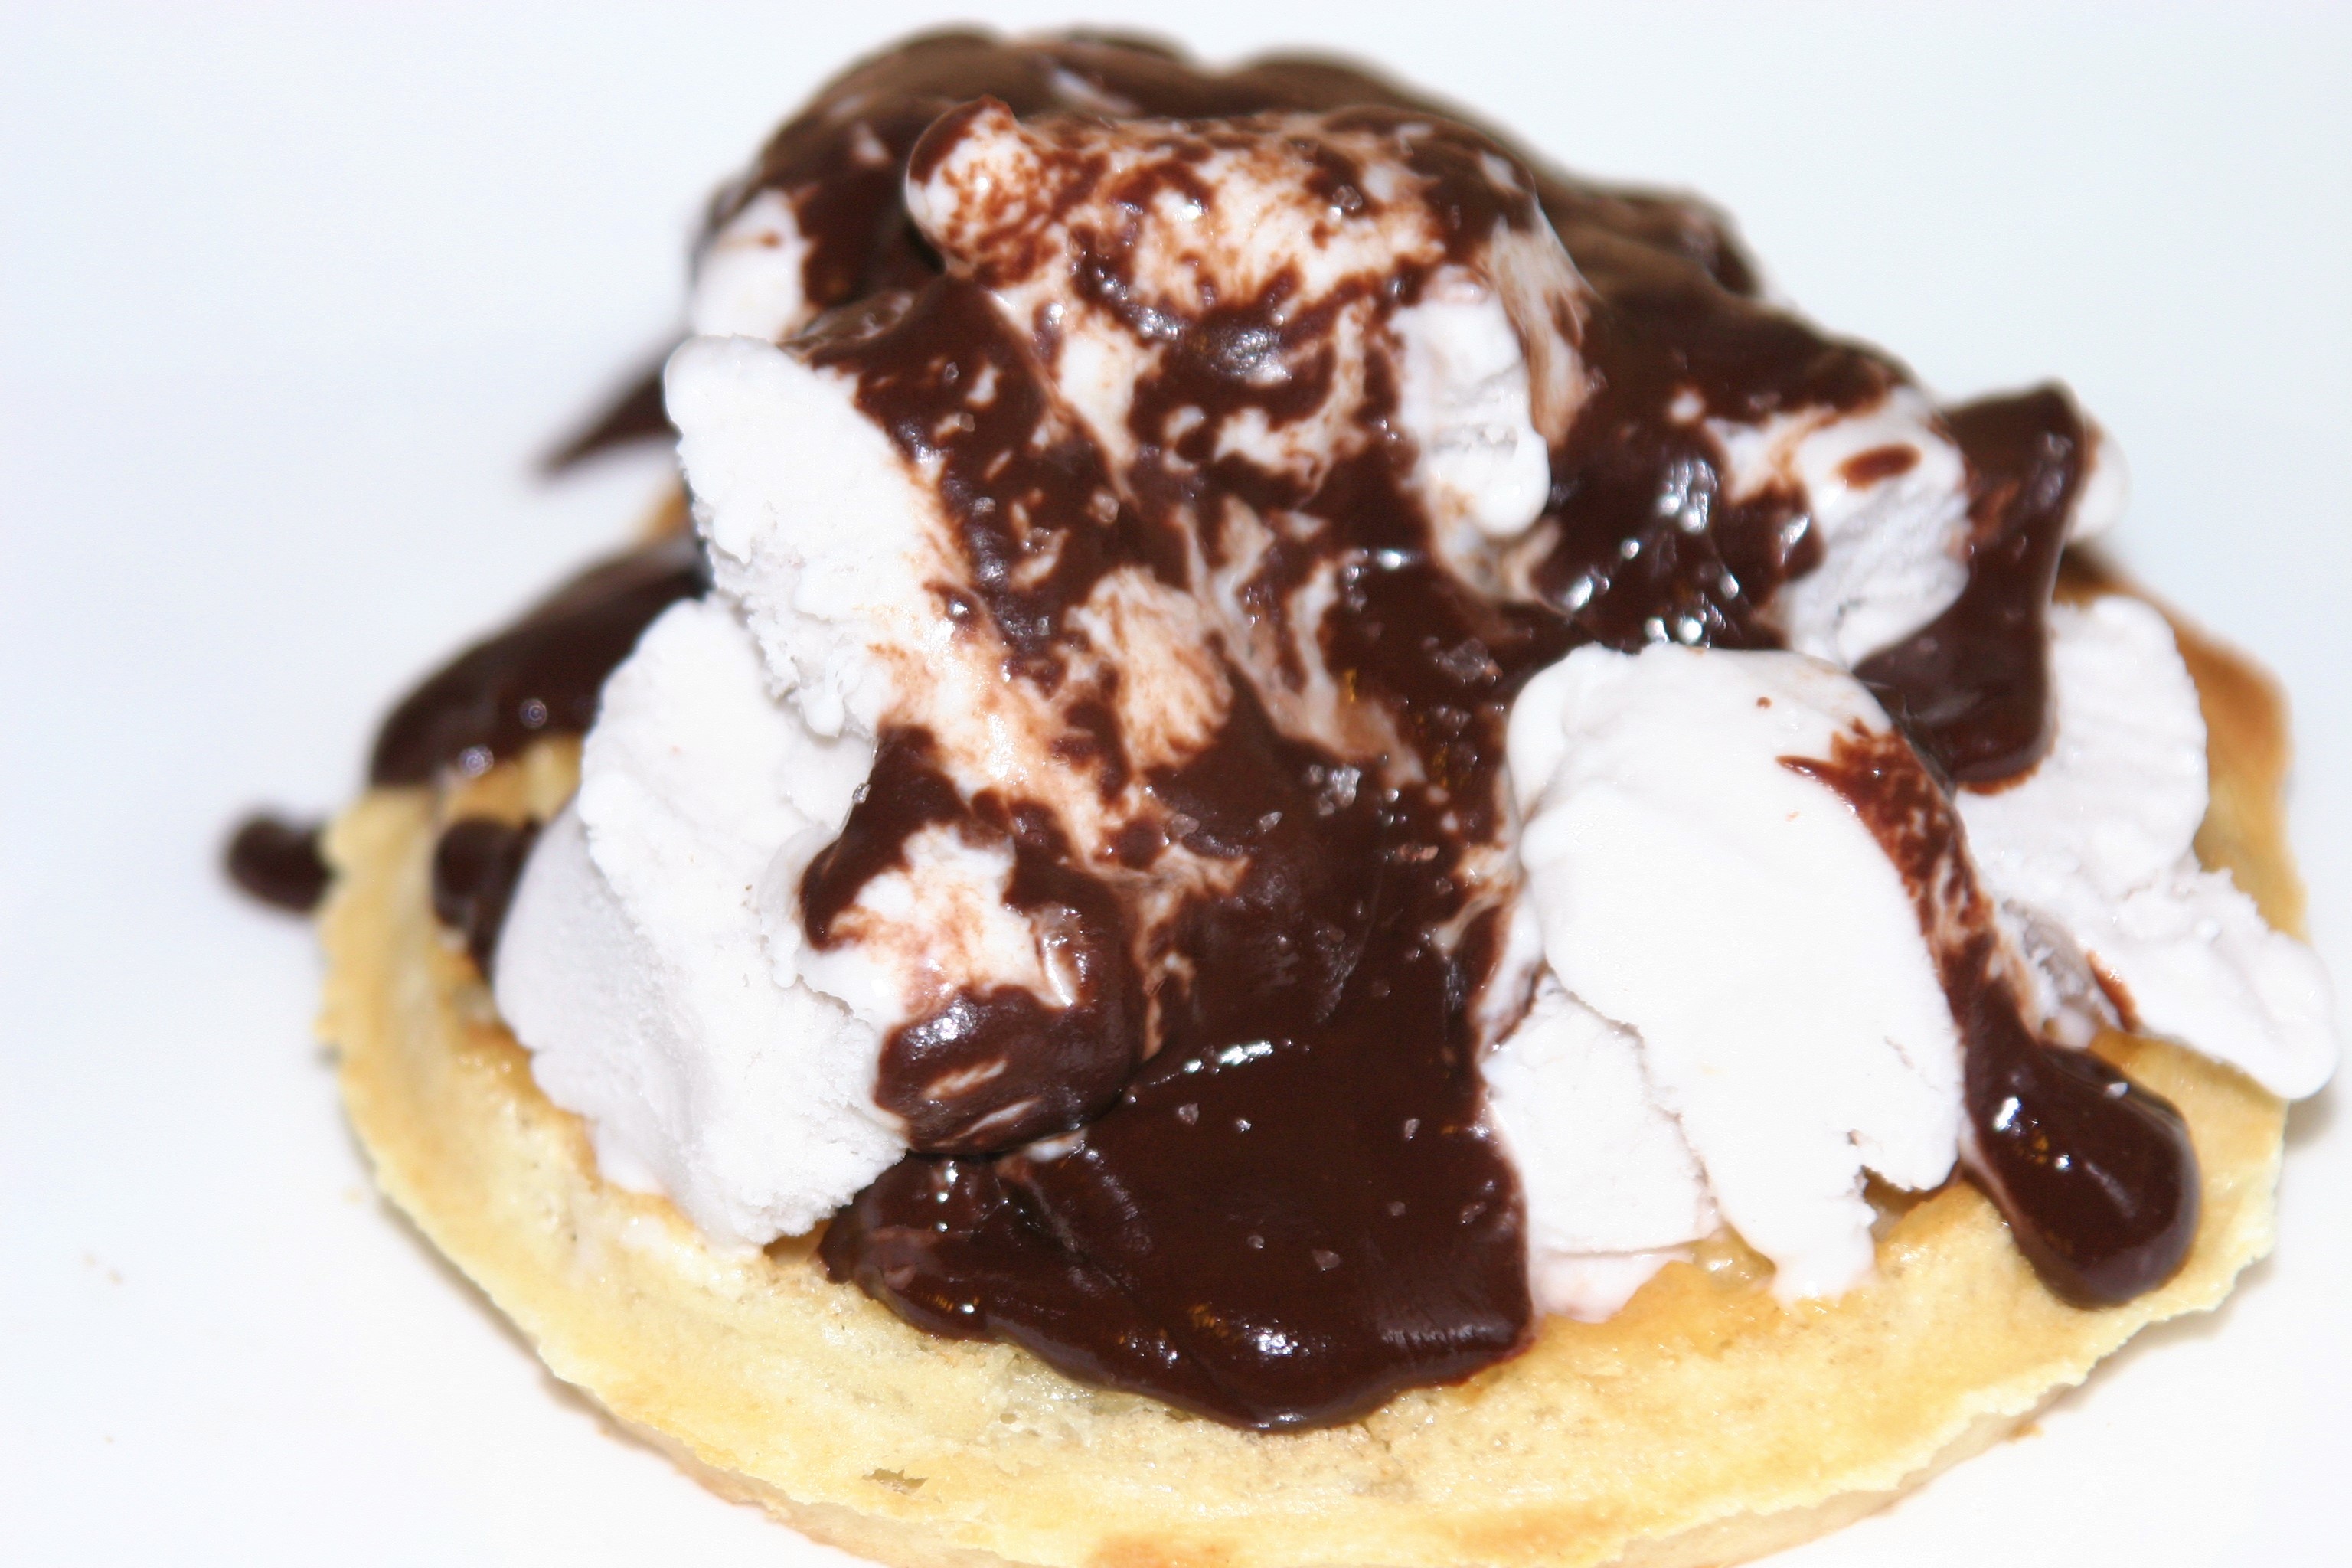
I’m going full speed into ice cream land. I have made ice cream several times a week for a few weeks now. It is HOT in the Northeast and ice cream is the only way to happiness right now. This is a delicious amaretto flavored vegan ice cream. For a change I decided to serve it over a toasted, buttered, toaster waffle, and topped it with chocolate sauce and finishing salt. YUM!
Amaretto ice cream
Ingredients
1 can (13.6oz) full fat coconut milk
3 TBL agave nectar
3 TBL amaretto liquor
1 1/2 tsp almond extract
1/2 tsp vanilla extract
dash salt
Instructions
Whisk or blend all ingredients together until smooth.
Add to ice cream maker of your choice and freeze according manufactures directions.
Transfer ice cream to a freezer-happy container and freeze for a minimum of 2 hours before serving for the best texture.
Serve over buttered toaster waffle and topped with chocolate sauce., or just in a bowl if that’s what you have.
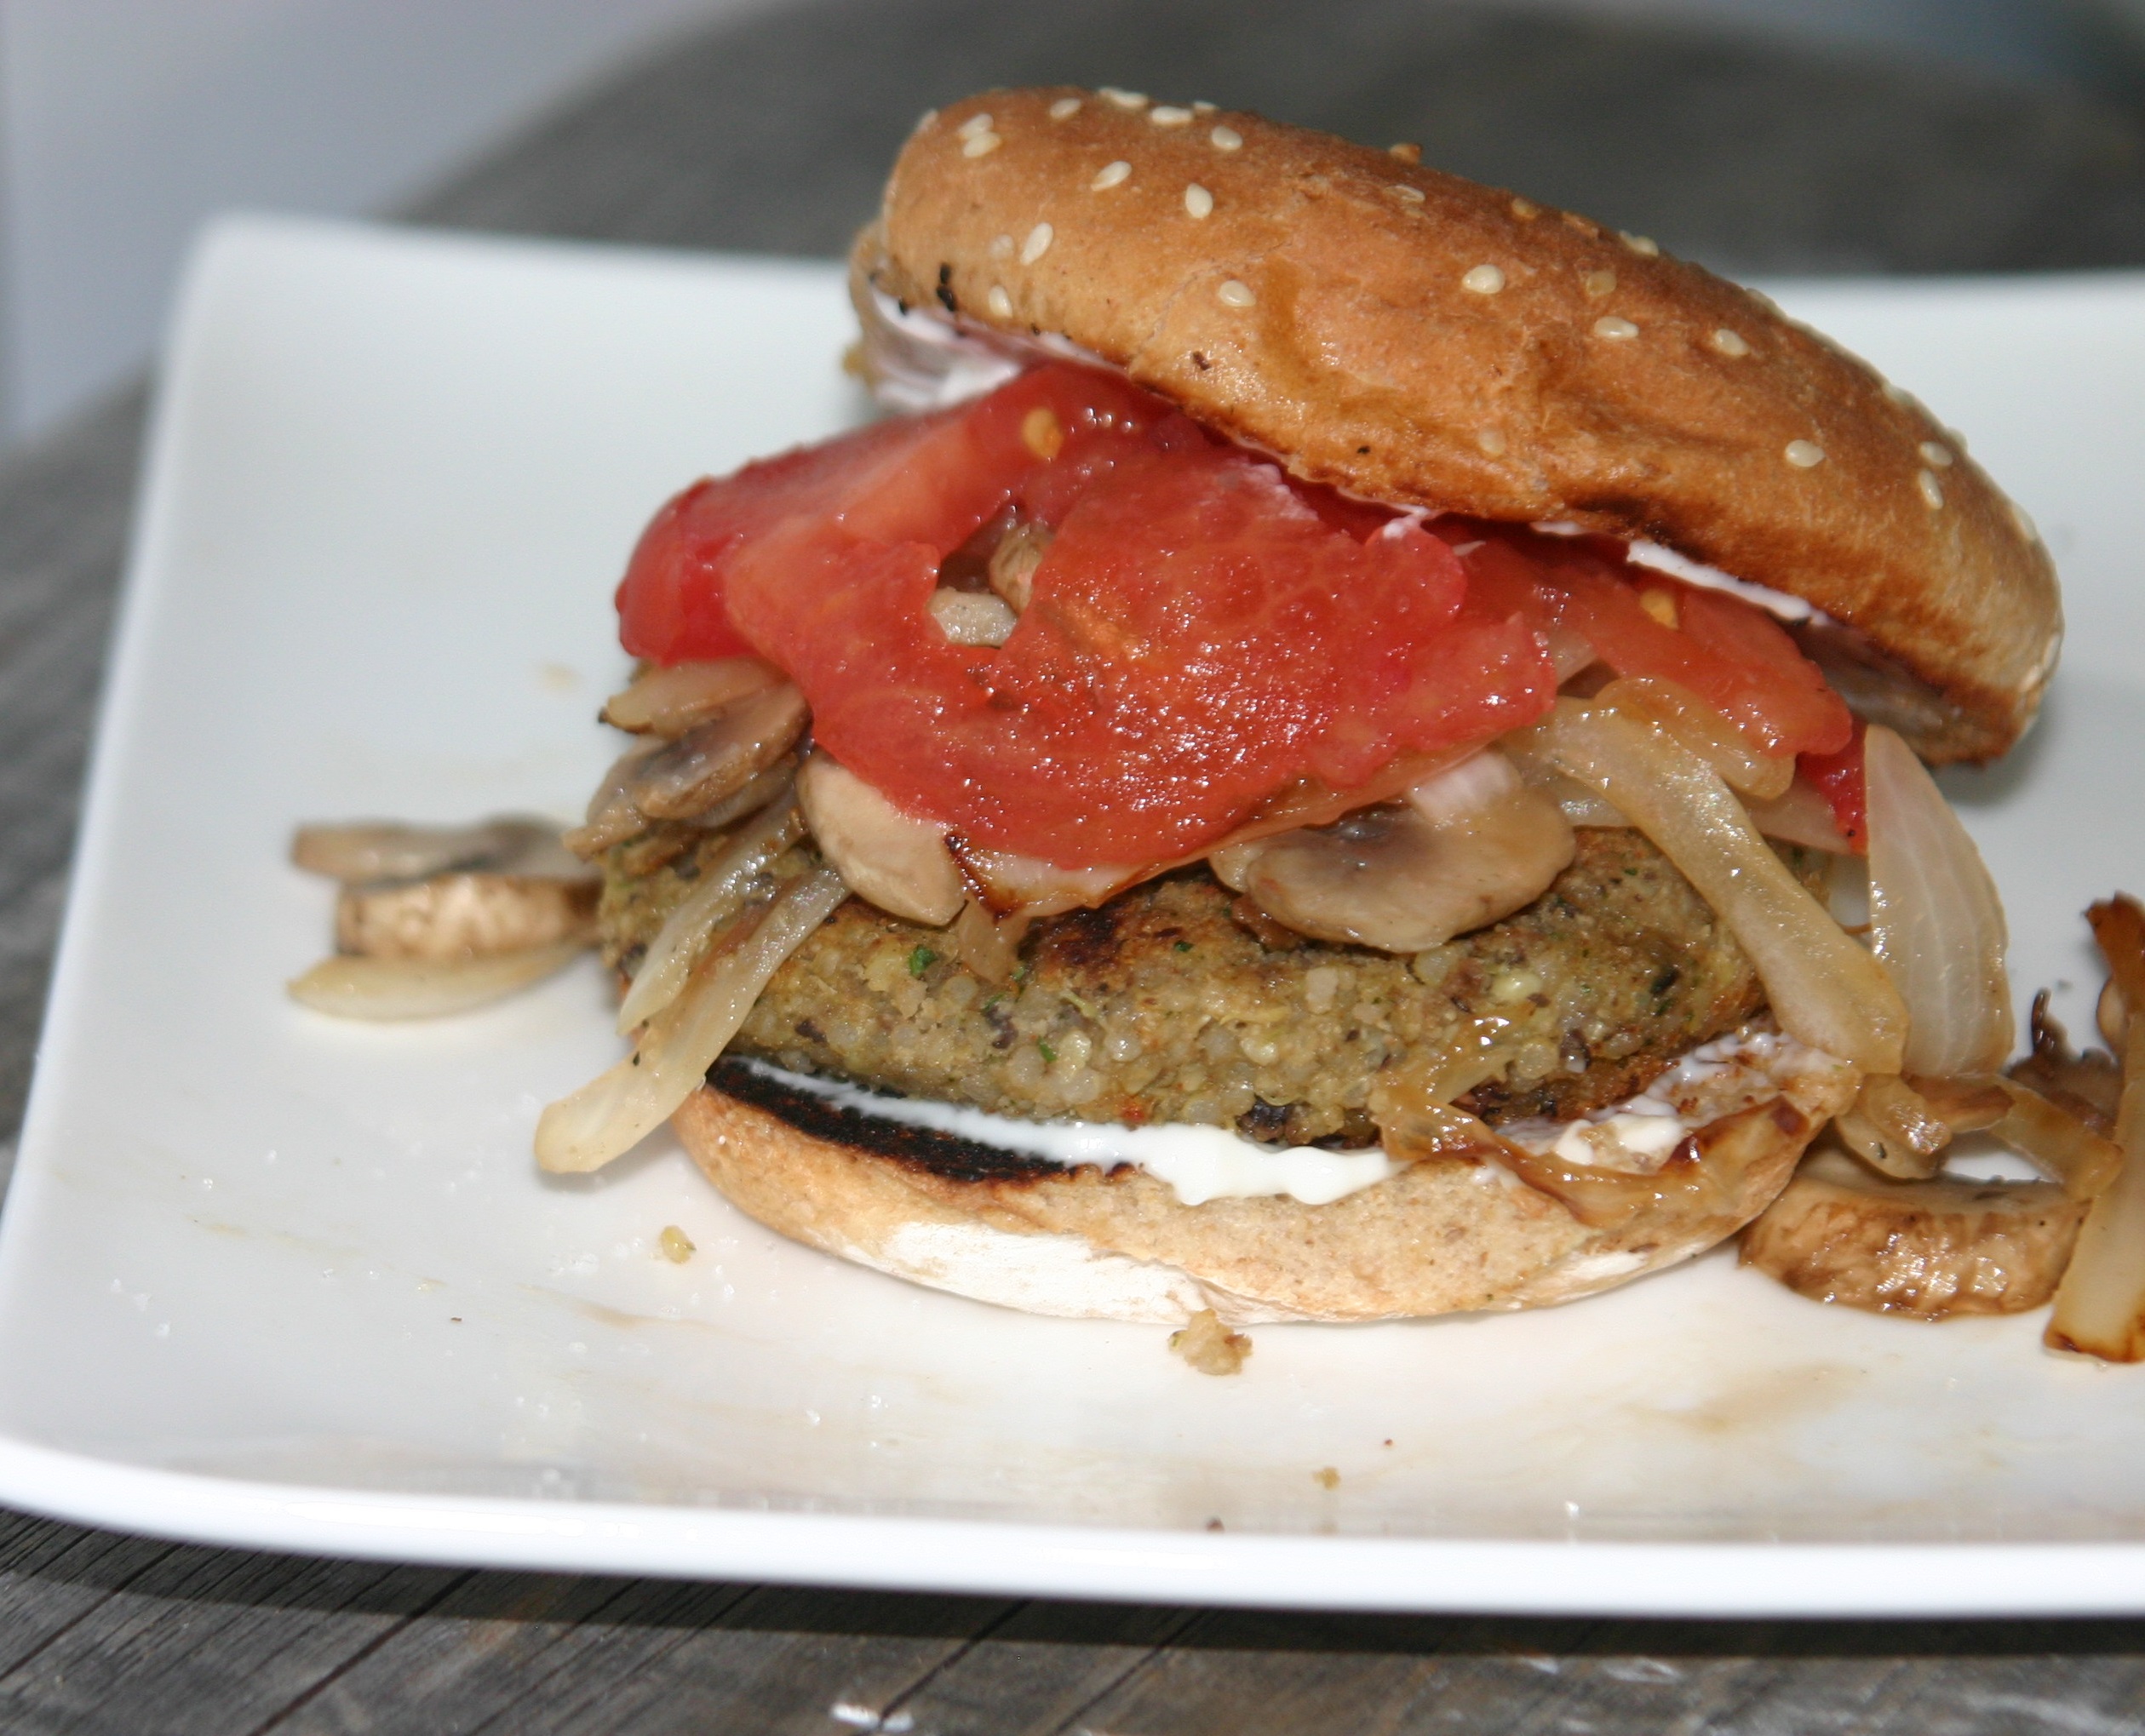
This recipe is a follow up of my post Vegan Burgers Without a Recipe. In this burger recipe I am doing exactly what I talked about in my last post; cleaning out my refrigerator. I had leftover Millet, Quinoa, and cooked beans. I threw them all in the food processor with some spices and look what happened!! I made delicious, vegan, gluten free burgers in just a few minutes. In this recipe the grains are the star and I am using the beans as a binder to hold the whole delightful mess together.
Millet Quinoa Bean Burger
Ingredients
1 cup cooked beans
1 handful fresh cilantro
1 1/2 cups cooked millet
1 1/2 cups cooked quinoa
salt 1/2-1 tsp
cumin 1-2 tsp
garlic powder 1-2 tsp
smoked paprika 1/2-1 tsp
Olive oil for cooking
Buns and toppings for serving
Instructions
Place cooked beans and the cilantro in the bowl of a food processor and process briefly until cilantro is minced and combined with the beans.
Add the millet, quinoa, and spices pulsing to combine.
Taste the batter and adjust seasonings to your liking.
Once the burger batter is to your liking, form into patties.
Heat olive oil in a heavy skillet over medium-high heat.
Add formed patties to hot oil and cook until crispy and browned, about 3-4 minutes, flip and cook second side until crispy and browned on the second side, another 3-4 minutes.
Serve with toppings of choice on a lightly grilled bun.