Something many people struggle with is what to make for dinner, and what to do with leftovers. I have an answer for both! I personally love leftovers and love turning them into something new for dinner. One of my favorite leftovers is refried beans. There are so many things you can do with them!!
We make these beans almost every week. I love beans in general, and these in particular. We usually start out by eating them the first night in tortillas, homemade if you have the time, with rice and whatever else we have. Leftovers, if there are any, are used in many different ways. I made a chart you can see below the recipe with ideas for your leftovers.
I posted a recipe for refried beans a few years ago, but my recipe has changed a good bit since then and I want to do do an update. These beans are not re-fried at all, they are just cooked until they are so tender they are melting. This is important for the best beans, but you can do a shortcut by mashing them in the cooking liquid if you are running out of time.
Refried Beans
- 1 cup dry pinto beans
- 1 cup dry black beans
- water to cover beans
- 1 medium onion, cut into eighths
- 4 small whole cloves garlic
- 2 cups vegetable broth or 1 large carrot and 1 stalk celery cut into large chunks
- salt to taste
- piece of kombu (optional)
Instructions
- Put both kinds of beans in a bowl, cover with cold water and soak 8 hours or overnight. OR if you decide too late for this put the beans in a pot, cover with water and bring to a boil over high head. Turn off the heat and allow to soak in the hot water for one hour.
- Drain the beans from their soaking liquid.
- Place the beans, onion, garlic, salt, vegetable broth or vegetables, and kombu in a large pot filling the rest of the pot with enough water to cover the beans by 2 inches.
- Cook the beans over medium heat for a minimum of one hour. I cook them until they start to fall apart which is about 2 hours. I often have to add more water during cooking to keep the beans soupy enough until they are as tender as I like them.
- Remove the carrot and celery if using.
- You can either mash the beans at this point, or continue to cook them until they are truly falling apart.
- Add salt to taste.
- Serve hot.
What To Do With Leftover Refried Beans
- Chili Cheese Bake:
- Add chili, tortillas, and enchilada sauce
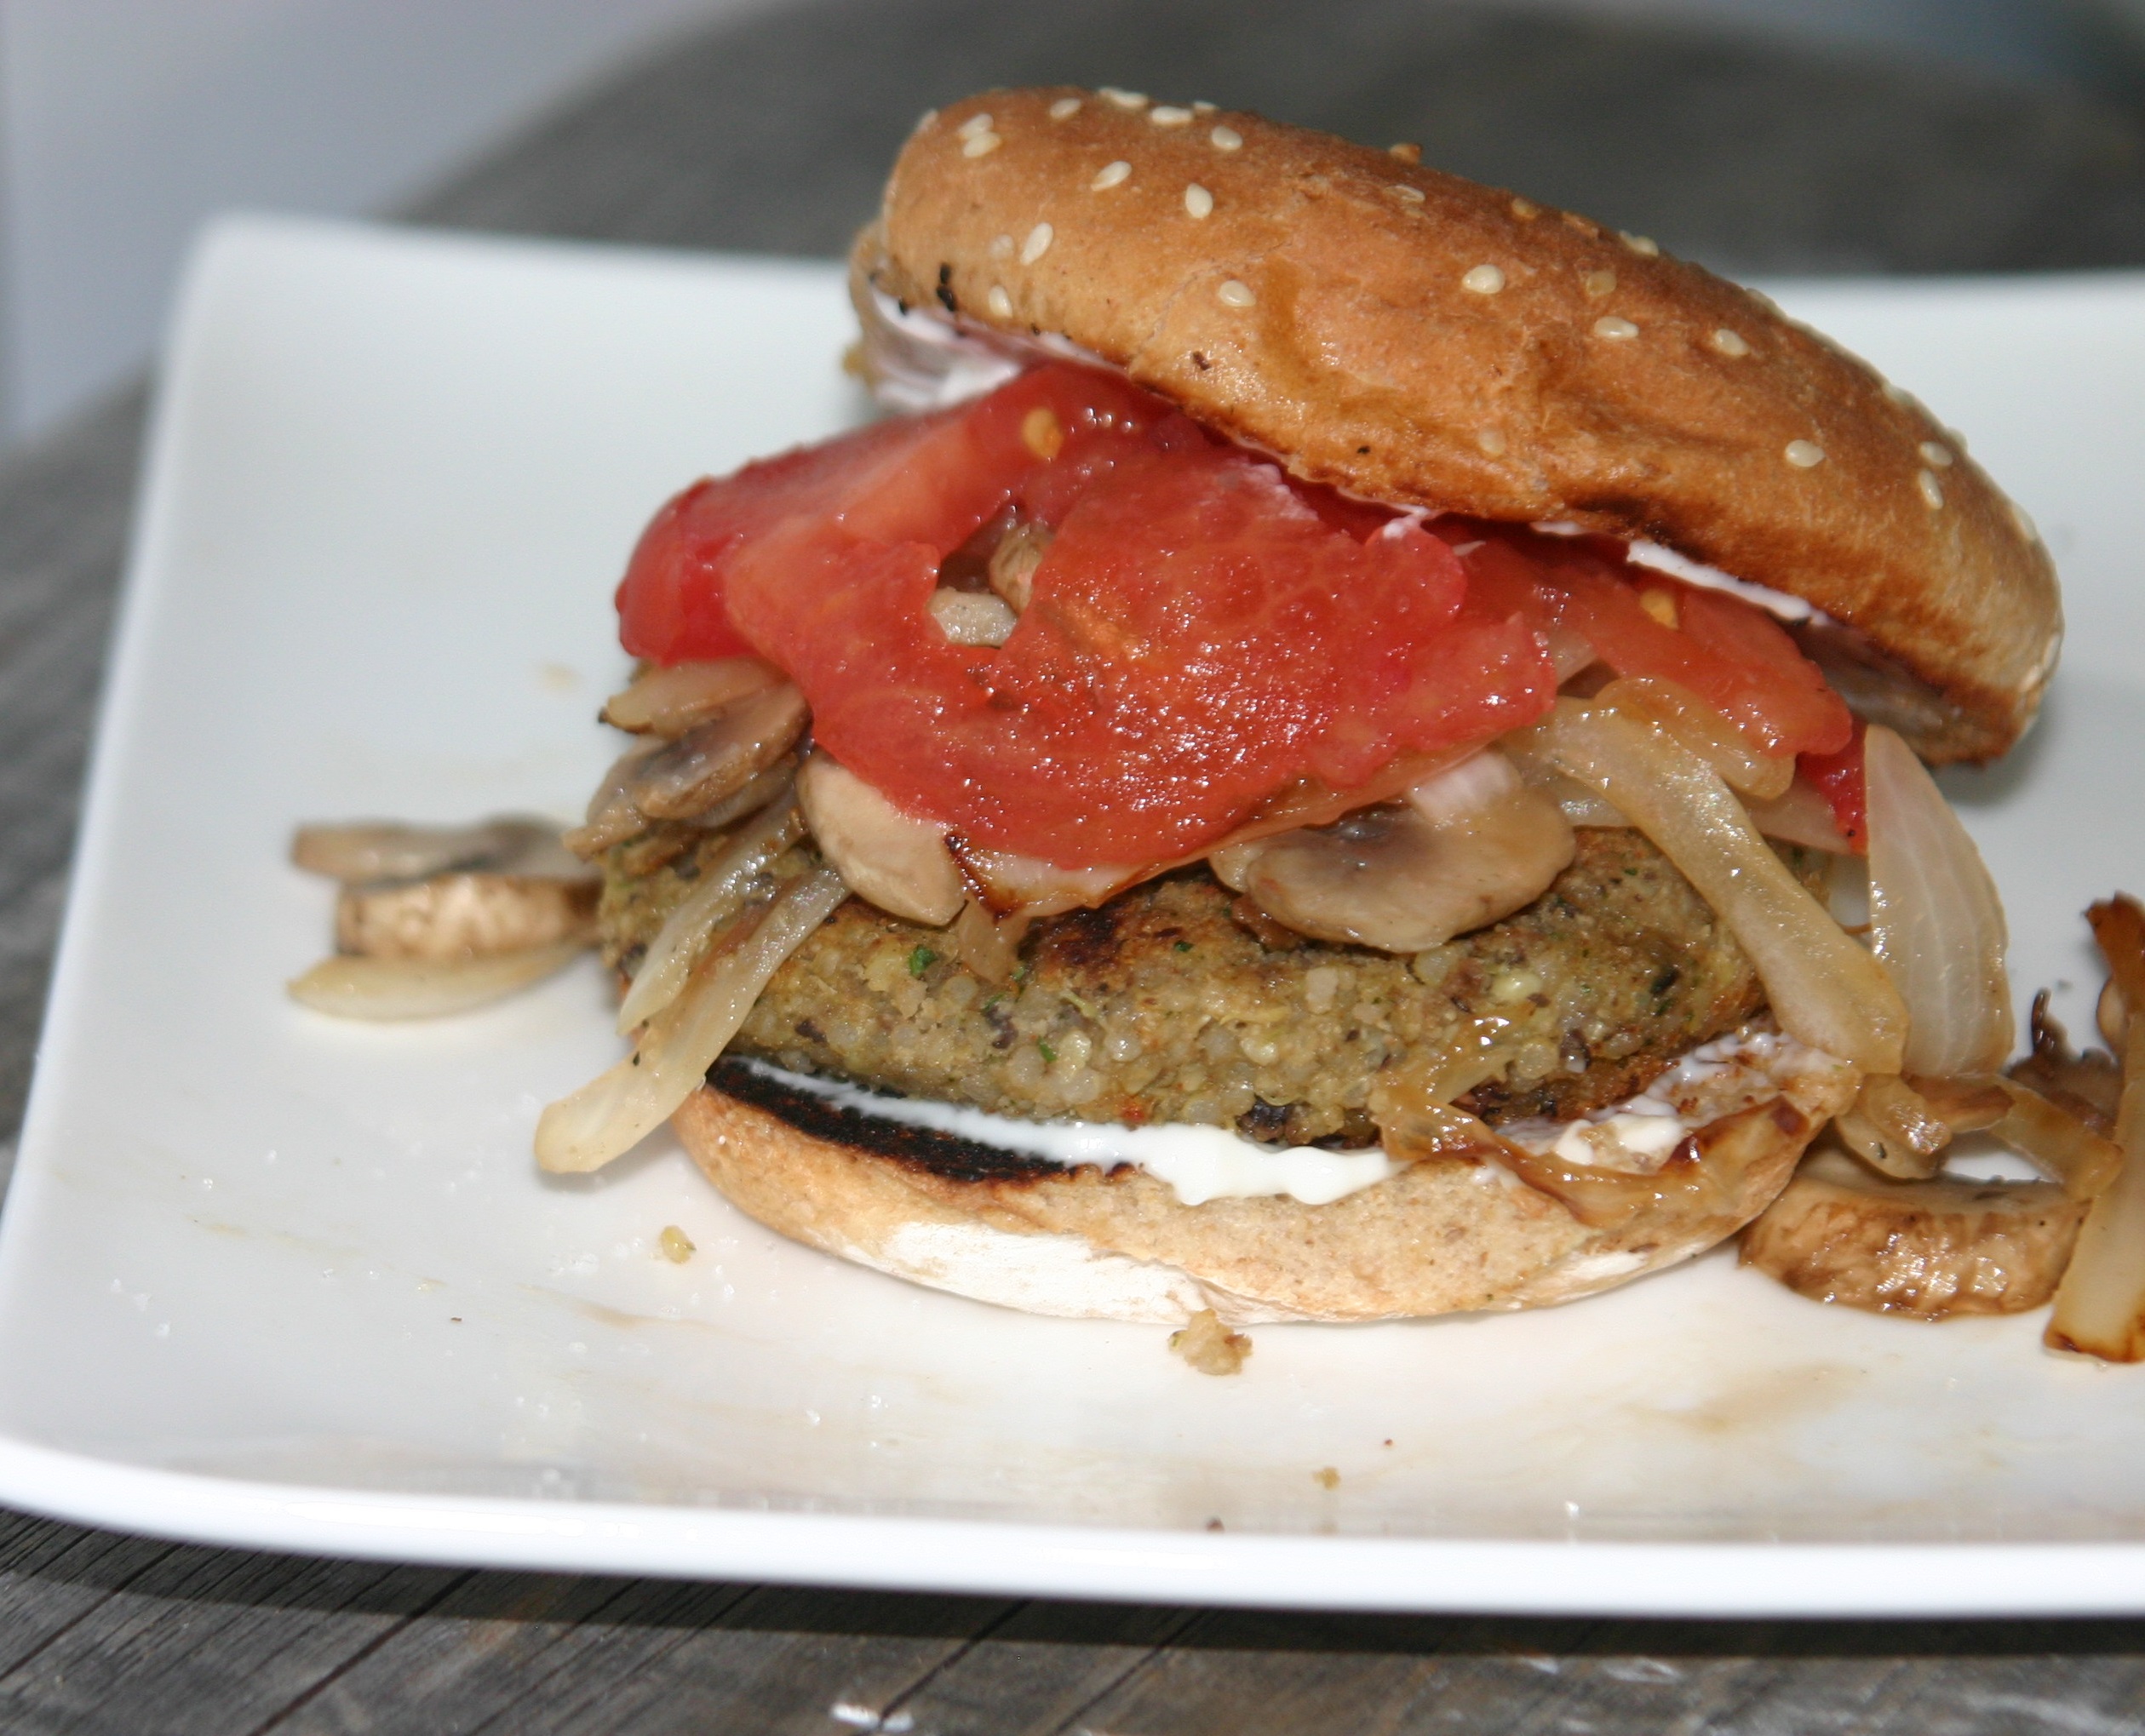
- Homemade Burgers:
- Add cooked grains and seasonings
- Taco Salad:
- Add lettuce, salsa, yogurt, and whatever veggies or grains you have
- Curried Rice and Beans:
- Add rice, curry and Cajun seasoning
- Lentil Tacos:
- Add lentil taco filling and toppings of choice
- Smoky bean dip:
- Add vegan cheese and liquid smoke
- Breakfast Burritos:
- Add breakfast potatoes, and sauteed veggies and/or scrambled tofu, wrap in a tortilla and eat deliciously.