Tofuballs with Extra Veggies

 Ingredients

  • 2 TBL oilve oil
  • 11/2 cup grated zucchini
  • 1/2 cup minced onion
  • 11/2 cups finely chopped spinach
  • 3 mushrooms, minced
  • 1 lb water packed extra firm tofu
  • 1 TBL Italian seasoning
  • 1/4 tsp salt
  • 1/4 tsp granulated garlic
  • freshly ground black pepper to taste
  • 2 TBL nutritional yeast
  • 1 egg beaten (omit if vegan, or try 2 TBL aquafaba lightly beaten with a fork)
  • 1/4-1/3 cup vegan bread crumbs
  • Neutral flavored oil for cooking

Instructions

  1. Heat a large skillet over medium high heat.
  2. Add oil, zucchini, onion, spinach, and mushrooms and cook 5-8 minutes or until most of the water has been released and cooked off.
  3. Mash tofu in a large bowl with your hands or a potato masher.
  4. Add Italian seasoning, salt, garlic, egg, cooked vegetables, and nutritional yeast and stir together.
  5. Add bread crumbs a few tablespoons at a time stirring to combine. The mixture should start to stick together.
  6. Taste the mixture and adjust seasonings to taste.
  7. Heat about a 1/4″ of oil in a large heavy bottomed skillet to about 350 degrees. I never actually check this with a thermometer, but you should. It should be hot, but not smoking, and when you flick a few drops of water into the oil it should sizzle and pop.
  8. Form the tofu mixture into walnut sized balls with your hands. Pack them a bit, but don’t worry if they feel loose as long as they hold their shape in your hand. If they don’t add more breadcrumbs until they do.
  9. Carefully place the tofu balls in the hot oil, and cook until one side is golden brown (3-4 minutes), flip them and cook on the other side another 3 minutes or so until golden brown.
  10. Unless you have a super huge skillet you will need to work in batches. You might need to add more oil between batches. If this happens don’t forget to reheat the oil before frying.
  11. Once cooked remove the tofu balls and place on a plate lined with paper towel to drain.
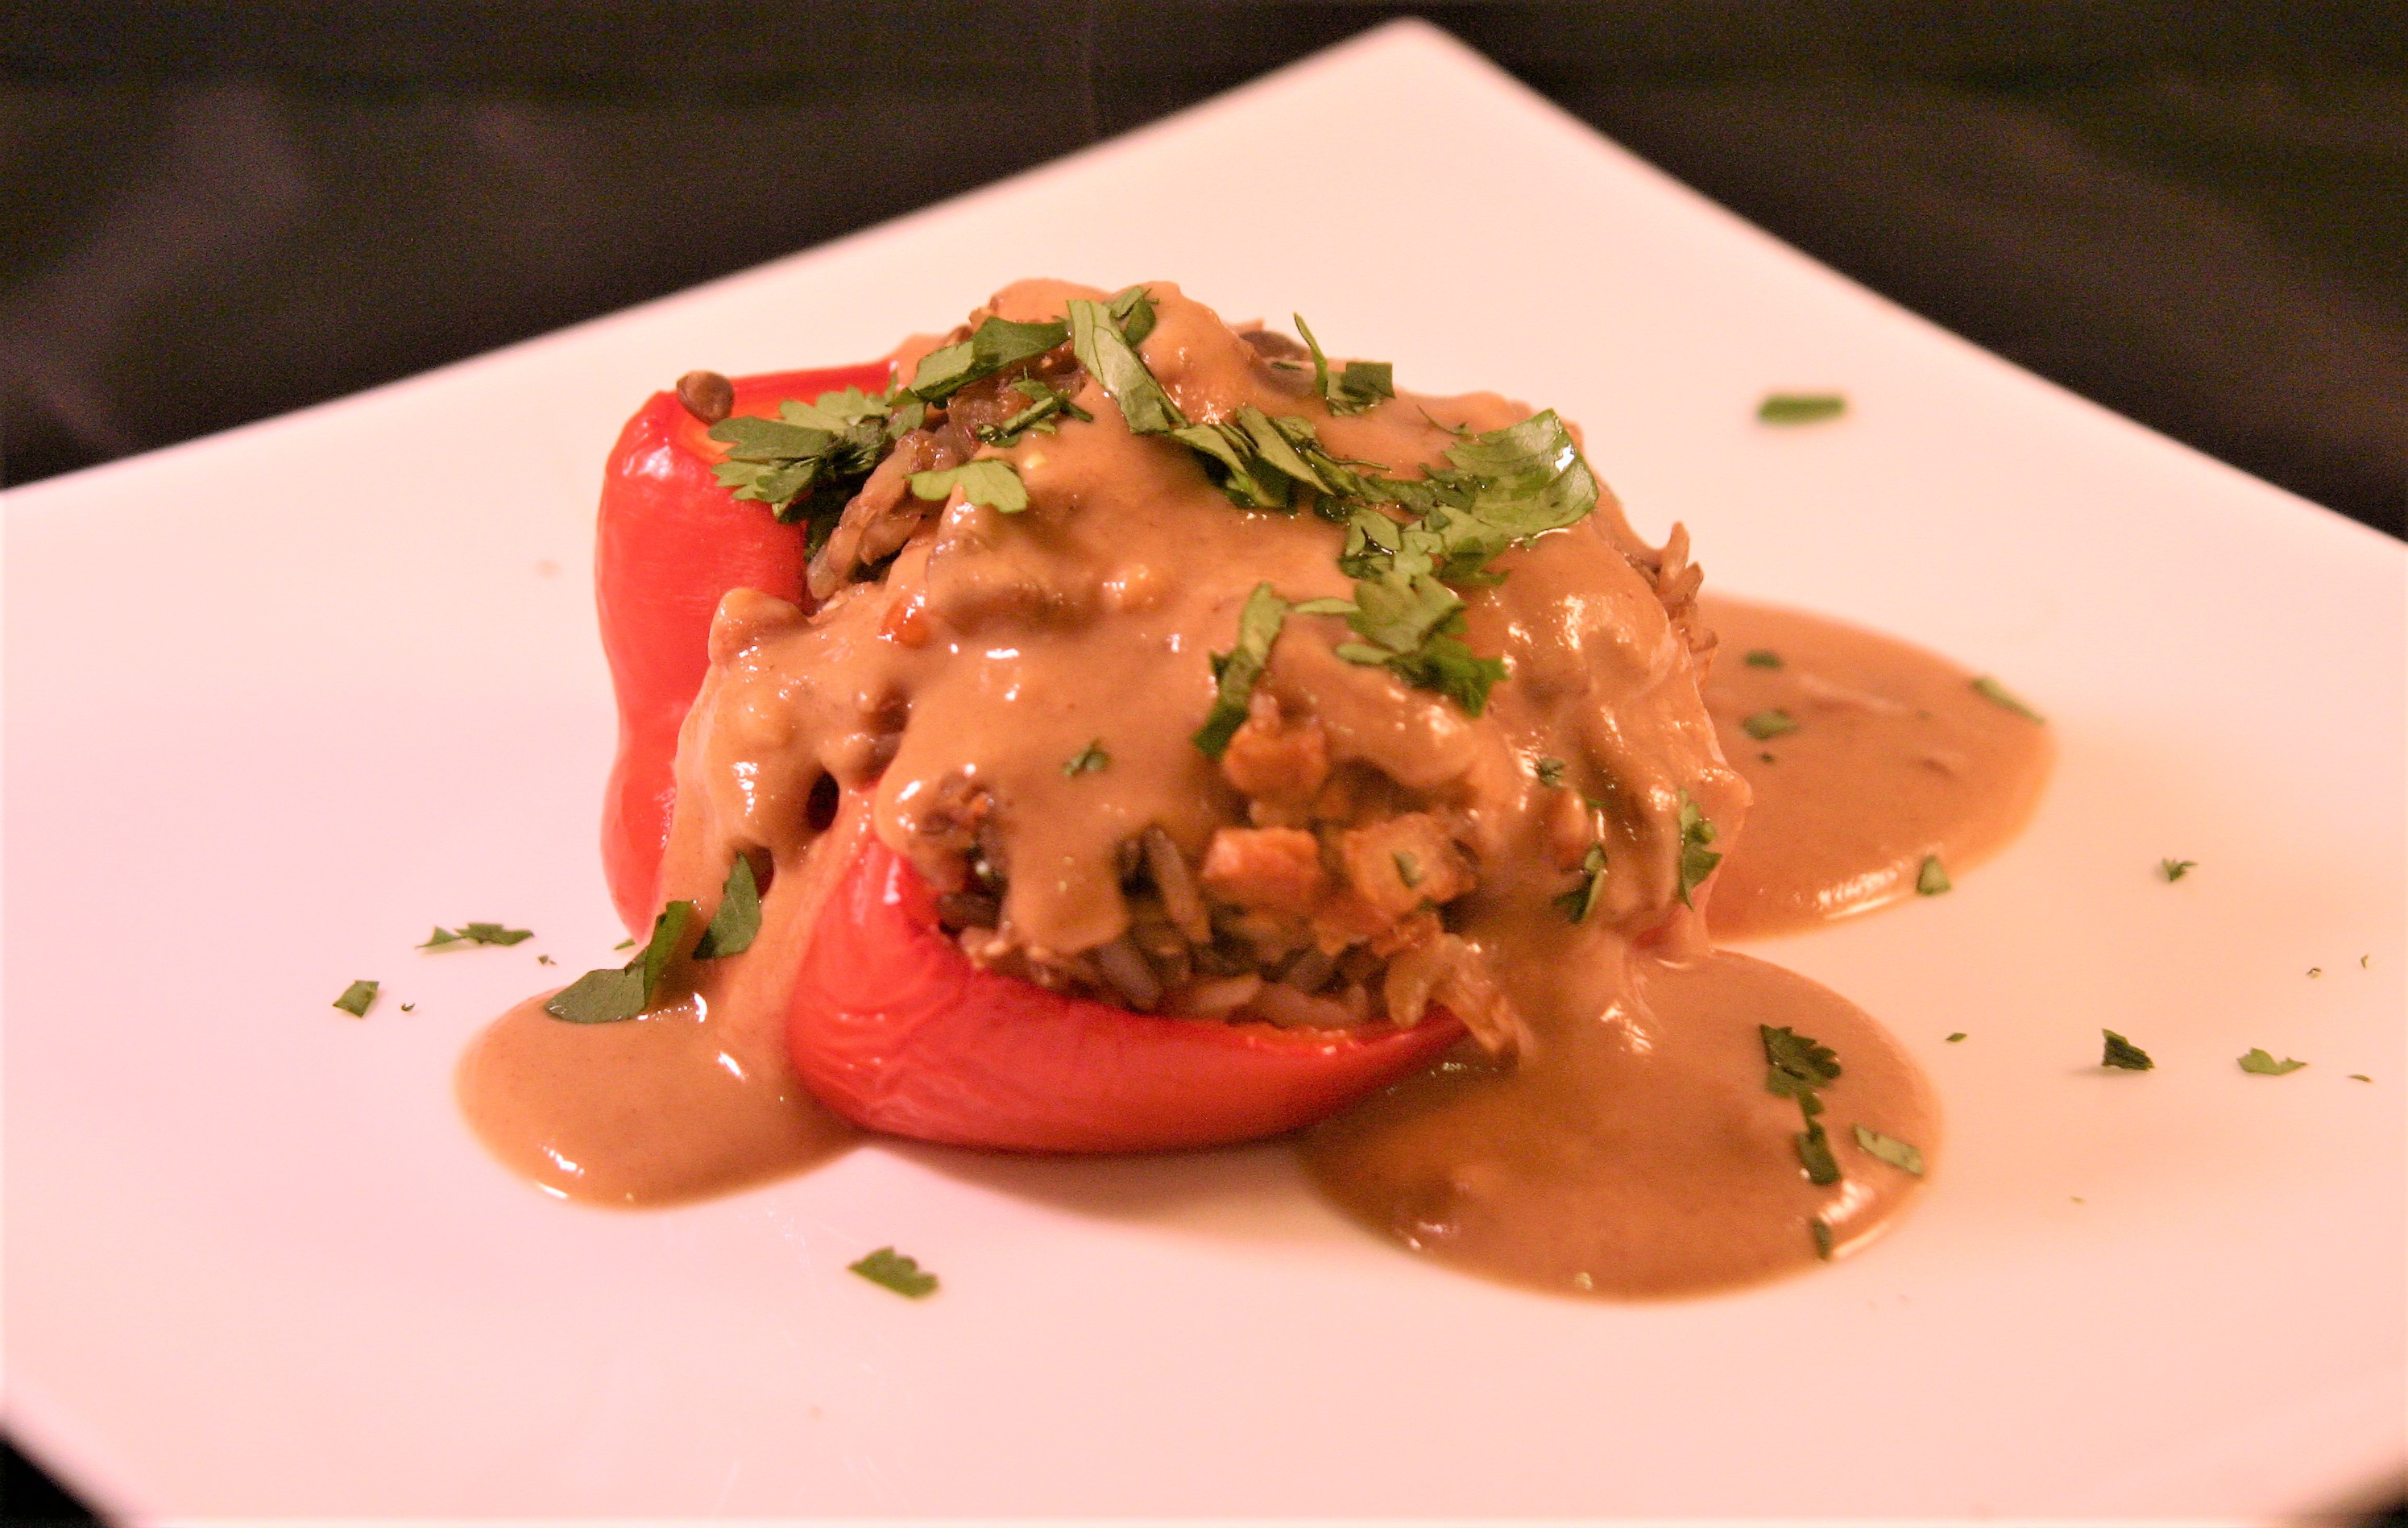
  12. Serve hot with pasta and sauce, or just eat as is. Super yummy snack!
  13. You could also bake these on an oiled baking sheet at 375 for about 20 minutes. Still good, but not quite the same.
Advertisement

Vegan Thai Stuffed Peppers With Peanut Sauce

Vegan Thai Stuffed Peppers With Peanut Sauce
Thai Stuffed Peppers With Peanut Sauce

So this is not authentic Thai food, but there are some delightful Thai flavors going on. These stuffed peppers have a mixture of rice, lentils, and vegetables set off with some Thai red curry paste, and topped with a comforting peanut sauce. Super tasty, gluten free, vegan, easy, and comforting.

This recipe was developed in my quest to try new things and was inspired by my wonderful mother-in-law makes super yummy stuffed peppers (and has made me vegan ones because she’s awesome). I wanted to do a stuffed pepper, but take it outside the box a bit.

 Ingredients

  • 1/2 cup brown rice
  • 1/4 cup brown lentils
  • 2 cups mushroom or vegetable broth
  • 4 red, yellow, or orange bell peppers cut in half lengthwise and seeded
  • 2 TBL olive oil
  • 1 medium onion diced, about 1 cup
  • 1 cup diced yellow squash of zucchini
  • 1 cup diced mushrooms
  • juice from half a lime, about 1 TBL
  • salt to taste
  • 2 cloves garlic, minced
  • 2 TBL minced fresh cilantro
  • 2-4 tsp red curry paste

Instructions

  1. Mix rice, lentils, and mushroom broth in a medium pan. Cover and bring to a boil over medium heat.
  2. Reduce heat to low and cook, covered, until rice and lentils are tender, about 30 minutes.
  3. Meanwhile, preheat oven to 375.
  4. Prepare a large baking sheet by lining it with a silicone mat, parchment paper, or aluminium foil. Place peppers on baking sheet cut side up and bake for 20 minutes until starting to soften.
  5. While peppers are cooking cut your vegetables.
  6. Heat a large skillet over medium heat.
  7. Add olive oil, onion, squash, and mushrooms sauteing until tender, about 7 minutes.
  8. Add lime juice, salt, and garlic cooking 1 additional minute and remove from heat.
  9. Stir together the cooked rice and lentils, the vegetable mixture, cilantro, and the red curry paste. Add the curry past a teaspoon at a time and taste adjusting to your preference.
  10. Once peppers have cooked remove them from the oven and fill with rice mixture to overflowing.
  11. Cover with aluminum foil and bake 20 minutes until cooked through.
  12. While peppers are cooking make peanut sauce.
  13. Serve hot with peanut sauce and garnished with cilantro.

 Ingredients

  • 2 cups water
  • 1 cup peanut butter
  • 2 TBL brown sugar
  • 2 TBL tamari -Gluten free if needed
  • 2 tsp lime juice
  • 2 cloves garlic, minced
  • 1/4 tsp red pepper flakes
  • 1/4 chopped cilantro (optional)

Instructions

  1. Boil water in a small saucepan.
  2. Once boiling whisk in peanut butter until smooth and remove from heat.
  3. Stir in brown sugar, tamari, lime juice, garlic, and red pepper flakes.
  4. Taste, and adjust seasoning to your liking.
  5. Add in cilantro if using and serve immediately.

Vegan Italian Tofuballs for Pasta-Toddler Approved

Vegan Italian Tofuballs

In need of some comfort food? I feel I am most of the time in the winter. I just want warm, filling, soul satisfying food. These delightful little nuggets fit the bill perfectly, especially when paired with whole wheat pasta and either your favorite sauce, or my favorite sauce.

Wolfie loved to help with these. She does everything from mashing the tofu to help form the balls. She also ate them! I mean, why wouldn’t you? They are a bit crisp on the outside, a bit salty, faintly “cheesy”, and heavy with Italian seasonings. These also freeze well if you feel like making a double batch.

 Ingredients

  • 1 lb water packed extra firm tofu
  • 1 TBL Italian seasoning
  • 1/4 tsp salt
  • 1/4 tsp granulated garlic
  • 1 cup grated zucchini (optional)
  • freshly ground black pepper to taste
  • red pepper flakes to taste
  • 2 TBL nutritional yeast
  • 1/4-1/3 cup vegan bread crumbs
  • Neutral flavored oil for cooking

Instructions

  1. Mash tofu in a large bowl with your hands of a potato masher.
  2. Add Italian seasoning, salt, garlic, zucchini, pepper, red pepper, and nutritional yeast and stir together.
  3. Add bread crumbs a few tablespoons at a time stirring to combine. The mixture should start to stick together.
  4. Taste the mixture and adjust seasonings to taste.
  5. Heat about a 1/4″ of oil in a large heavy bottomed skillet to about 350 degrees. I never actually check this with a thermometer, but you should. It should be hot, but not smoking, and when you flick a few drops of water into the oil it should sizzle and pop.
  6. Form the tofu mixture into walnut sized balls with your hands. Pack them a bit, but don’t worry if they feel loose as long as they hold their shape in your hand. If they don’t add more breadcrumbs until they do.
  7. Carefully place the tofu balls in the hot oil, and cook until one side is golden brown (3-4minutes), flip them and cook on the other side another 3 minutes or so until golden brown.
  8. Unless you have a super huge skillet you will need to work in batches. You might need to add more oil between batches. If this happens don’t forget to reheat the oil before frying.
  9. Once cooked remove the tofu balls and place on a plate lined with paper towel to drain.
  10. Serve hot with pasta and sauce.
  11. You could also bake these on an oiled baking sheet at 375 for about 20 minutes. Still good, but not quite the same.

Vegan Chickpea Cutlets

Vegan Chickpea Cutlets

These amazing, delicious, soul satisfying chickpea cutlets are from the Veganomicon , which is, incidentally, my favorite cookbook. I’m on a short weekend getaway and I brought it with me for inspiration. I’m feeling a little routine in the kitchen these days and needed some amazing recipes to give me a kickstart. So thank you Isa Chandra Moskowitz and Terry Hope Romero for being amazing vegan cooks and delightful inspirations.

These chickpea patties are packed with flavor, chewy, and perfect for a heaping helping of gravy and a side of mashed potatoes. My daughter also loved helping with this recipe as it requires some kneading and she thought that was pretty much the best. If you are in the mood for comfort food this will fit the bill. I made this recipe before Thanksgiving and used a few of the cutlets in my one dish masterpiece. Really, it was so I got to eat all the leftovers without having to share with my husband. Don’t tell him.

Originally from Isa Chandra Moskowitz

 Ingredients

  • 1 16 oz can chickpeas, drained and rinsed
  • 1/4 cup extra virgin olive oil
  • 1 cup vital wheat gluten
  • 1 cup plain breadcrumbs
  • 1/2 cup vegetable broth or water
  • 1/4 cup soy sauce
  • 1 teaspoon dried thyme
  • 1 teaspoon paprika
  • 1/2 teaspoon dried sage
  • 4 cloves garlic, finely minced or grated with a Microplane grater
  • Olive oil for pan frying

Instructions

  1. In a mixing bowl, mash the chickpeas together with the oil until no whole chickpeas are left. Use an avocado masher or a strong fork.
  2. Add the remaining ingredients and knead together for about 3 minutes, until strings of gluten have formed.
  3. Preheat a large heavy-bottomed skillet over low-medium heat. I like to use my cast iron pans for this.
  4. Divide the cutlet dough into 2 equal pieces. Then divide each of those pieces into 4 separate pieces (so you’ll have 8 all together). To form cutlets, knead each piece in your hand for a few moments and then flatten and stretch each one into a roughly 6 by 4 inch rectangular cutlet shape.
  5. Add a moderately thin layer of olive oil to the bottom of the pan. Place the cutlets in the pan and cook on each side for 6 to 7 minutes. Add more oil, if needed, when you flip the cutlets. They’re ready when lightly browned and firm to the touch. You will have to work in batches to cook all the cutlets unless you have a bigger pan that I have ever seen.
  6. Now let them rest for a bit and you’re done!


Mexican Fried Rice (vegan and gluten free)

Vegan Mexican Fried Rice

We are in between holidays right now. The perfect time to basically eat all the leftovers, clean out your pantry and freezer, and get ready for the next round of cooking. At times like these one must use what you have to make delicious food that eats as a perfectly composed meal, but takes little planning or preparation. I say between the holidays, but really, with two under two this is every day.

This Mexican Fried Rice was developed with bits and odds from my kitchen. It turned out so well my mother and my husband told me I had to blog it. Super simple, rich, just a little different, easy, and delicious. Feel free to mix and match veggies from what you have on hand. Same with the beans, kidney, pinto, black, or pretty much any bean you like would work just fine here.

 Ingredients

  • 1 cup brown rice, cooked in mushroom or vegetable broth (or whatever leftover rice and add a bit more salt to the whole mix)
  • 2 TBL olive oil
  • 1 medium onion, diced
  • 1 green bell pepper, diced
  • 1 other bell pepper (white, red, yellow, orange) diced
  • 1 cup sliced mushrooms
  • 1 small zucchini, diced
  • 3 large cloves garlic, minced
  • 1 15 oz can kidney beans, drained
  • 1 7.5 oz can El Pato tomato sauce, or other enchilada sauce (100% prefer El Pato)
  • 1/4 cup minced fresh cilantro
  • 2 TBL nutritional yeast
  • Salt to taste.
  • Optional cheese to top

Instructions

  1. Cook rice in vegetable broth according to package directions.
  2. Heat a large skillet over medium heat.
  3. Add oil, and saute onion and mushrooms for a few minutes, until starting to soften.
  4. Add zucchini and cook about 2 minutes more.
  5. Add bell pepper and cook until just starting to soften 2-3 minutes.
  6. Add coked rice, garlic, kidney beans, and El Pato stirring to combine.
  7. Stir in nutritional yeast and garlic, taste, and add salt as needed.
  8. Sprinkle with cilantro and cheese if using and serve hot.

Easy Vegan Gravy Without a Recipe-Thinking Thanksgiving

Vegan Gravy
Vegan Gravy

Thanksgiving is coming!! I can’t wait! I love a holiday dedicated to food, especially comfort food. A necessary addition to any Thanksgiving table is gravy. Creamy, umami filled, and delightfully full of vegetables it is the perfect addition to your table, Thanksgiving or otherwise.

Some people think that gravy can be tricky, but it doesn’t have to be. It can me a simple process, and one that is easily adapted to various dietary needs such as vegan or gluten free. It is also something that is so very quick to make and delivers flavor as if you have been slaving for hours. When we have just odds and ends in the house I’ll make gravy to top biscuits for breakfast, or to finish potatoes or other fall vegetables for a quick and hearty dinner.

Discussion:

What is important for successful gravy?

  1. Creamy texture
  2. Flavor
  3. Add-ins

I I like to think of gravy as a beautiful vegetable filled umami bomb. It is a versatile vehicle for bringing vegetables and protein, a way to round out a meal, and the perfect sauce. It is an easy process to make gravy and you can easily change things up to fit your mood and your pantry.


How Does It All Work? 

The Texture 

Balancing ingredients for the proper texture.

  1. The ratio of flour to liquid above has worked well for me, however, feel free to adjust it to your preference. The ratio will also be slightly different if you are using different flour such as garbanzo bean flour. Start with the ratio I have listed, then add more flour to make it thicker, or more liquid to thin it out. Make sure to cook the gravy before attempting to make it thicker as cooking with thicken the texture.
  2. To incorporate the flour you can either mix it with cold liquid until smooth, then whisk into the hot pan, or you can sprinkle the flour into hot fat, suck as oil (equal parts flour and fat) and cook while whisking until it starts to brown and begins to smell fragrant. Then add liquid.
  3. Vegetables are optional, so are beans. The will affect the overall texture so think about how you want them cooked before adding them.

Flavor

Optional additions for flavor

  1. I pretty much always use a mixture of non-dairy milk and vegetable broth (or water and vegetable broth powder), however, I have used just water when I’m out of milk. The balance of these will affect the flavor.  Just water makes it a little less cream and less rich. More milk can make it taste more like the milk you are using, just be sure to have a type of milk you want to eat in gravy. If you use sweetened vanilla almond milk it will taste like a nasty vanilla flavored gravy,
  2. Herbs are your friend. If you are using dried herbs, add them in the beginning. If you are using fresh, add them at the end. I love thyme, sage, and black pepper for a fall gravy. I might leave out the sage and add smoked paprika and vegan sausage for a breakfast gravy, or just salt and pepper with lots of vegetable broth for a lighter version.
  3. Nutritional yeast, lemon, and Dijon mustard are some of my favorite other additions to boost flavor.
  4. The vegetables you choose to add in will also affect the flavor. I nearly always use onions, often mushrooms and kale. Celery, onions, and carrots would lean toward a more traditional chickeny flavor.
  5. Don’t forget the salt!


Add-ins

More flavor, more texture, and all the fun

  1. Your gravy can be as simple as the vegetable broth that has been thickened and a few herbs and spices, but feel free to add anything else you like.
  2. Protein- I love adding cooked brown lentils to my gravy. The texture is fun and it adds a big punch of nutrients. Other options are garbanzo beans which I like to mash a bit and/or pre-made veggies sausage or other fake meat products.
  3. Vegetables- as in this recipe I usually use onions, mushrooms, and kale. The combination is delicious. Other options are anything in your fridge. I do a breakfast gravy with carrots, celery, red peppers and lentils. My daughter loves the addition of peas. Try things out as you have them available.

Vegan Falafel

Vegan Falafel
Vegan Falafel

Falafels are one of my favorite foods, when done correctly. They can easily be dry or tasteless, but when perfectly crunchy on the outside, light on the inside, and bursting with flavor they are delicious! The trick to perfect falafel is to used soaked, but not cooked, chickpeas. The texture is far superior to those falafels using cooked chickpeas. I also love the addition of lots of fresh herbs in this recipe. These flalafel are also surprisingly easy and quick as long as you remember to soak the chickpeas the night before and you use a food processor to bring everything together.

I suggest making a double batch if you plan to share.

 Ingredients

  • 1 cup dried chickpeas
  • 1/2 large onion, roughly chopped (about 1 cup)
  • 1/4 cup roughly chopped fresh parsley
  • 1/4 cup roughly chopped fresh cilantro
  • 1 teaspoon salt
  • 1/2-1 teaspoon dried hot red pepper
  • 4 cloves of garlic
  • 1 teaspoon cumin
  • 1 teaspoon baking powder
  • 4-6 tablespoons flour or chickpea flour if gluten free
  • Soybean or vegetable oil for frying
  • Chopped tomato for garnish
  • Diced onion for garnish
  • Tahini sauce
  • Pita bread or salad

Instructions

  1. Put the chickpeas in a large bowl and add enough cold water to cover them by at least 2 inches. Let soak overnight, then drain. Or use canned chickpeas, drained.
  2. Place the drained, uncooked chickpeas and the onions in the bowl of a food processor fitted with a steel blade. Add the parsley, cilantro, salt, hot pepper, garlic, and cumin. Process until blended but not pureed.
  3. Sprinkle in the baking powder and 4 tablespoons of the flour, and pulse. You want to add enough flour so that the dough forms a small ball and no longer sticks to your hands. Turn into a bowl and refrigerate, covered, for several hours.
  4. Form the chickpea mixture into balls about the size of walnuts.
  5. Heat 3 inches of oil to 375 degrees in a deep pot or wok and fry 1 ball to test. If it falls apart, add a little flour. Then fry about 6 balls at once for a few minutes on each side, or until golden brown. Drain on paper towels.
  6. Using either salad or pita, top with flalafel and any garnishes of your choice.

BBQ Tofu over Tater Tots with Cheese (vegan or not)

tater tots with BBQ tofu

Today is my 5th wedding anniversary! I can’t believe time has gone so fast! So many things have happened in the last five years, and there is no way we would have pictured ourselves in Cambridge, MA with two kids on our wedding day! Holy Cow! To honor this momentous occasion I am compiling a list of my husband’s favorites from the blog. All of them are delightful vegan comfort foods.

The featured recipe is one of the easiest things to make, and one of my husband’s favorites. I say that a lot; it must mean that whatever I’m making is his favorite. This is simply frozen tater tots that are baked, then topped with cheese and tofu smothered in BBQ sauce. Oh, so good! If you’re looking for a different kind of comfort see below.

Peanut Butter Cup Ice Cream

Vegan Nachos 

Chocolate Brownies with Cheesecake Swirl

Lemon Meringue Pie 

Lasagna

Pizza Burritos 

 Ingredients

  • 1/2 bag frozen tater tots cooked according to package directions
  • 1/2 cup cheese (vegan or not depending on your preference)
  • 1/2 lb tofu
  • 1/2 cup of your favorite BBQ sauce

Instructions

  1. Cook the tater tots.
  2. When they are done sprinkle with cheese and heat just long enough to melt the cheese, about 3-5 minutes.
  3. Cook the tofu using my making tofu tasty directions.
  4. Turn off the heat and pour the BBQ sauce over the top, stirring to combine.
  5. Divide tater tots and cheese onto two plates and top with tofu.

Quick and Easy Vegan Garbanzo Bean “Tuna” Salad

Vegan Garbanzo Bean "Tuna" Salad
Vegan Garbanzo Bean “Tuna” Salad

This has been my go-to lunch throughout this pregnancy. It seems to be perfectly satisfying, and easy enough that I can make it even when I’m already hungry. I usually make just enough for one meal, which is what this recipe is for. Sometimes, when I’m feeling the need to do so, I will reduce the fat in this recipe by halving the mayo used and subbing in the same amount of aquafaba (liquid from the can of beans). The flavor is almost as good, and during this pregnancy the lower fat is better every now and again.

Makes 1 serving

 Ingredients

  • 1/3 cooked garbanzo beans
  • 1 TBL vegan mayonnaise
  • 1 tsp sweet pickle relish
  • squeeze of lemon juice
  • salt and pepper to taste
  • 1 tsp each minced sweet onion and celery (optional)

Instructions

  1. Mash garbanzo beans in a small bowl with a fork.
  2. Stir in the mayo, pickle relish, lemon juice, salt and pepper.
  3. Add the onion and celery if using and stir to combine.
  4. Taste and adjust seasoning to your preference.
  5. Serve on bread, or with crackers, sliced veggies, or however you desire.

Vegan, Gluten-Free, Veggie-full Cashew Mac and “Cheese”

vegan gluten free mac n cheese

Here is traditional “kid food” made in a way I am comfortable serving it to my daughter. I use the gluten free noodles simply because it is a way to get different grains into her diet and the brand I choose is nutritionally dense compared to traditional dried pasta. I also add in some grated zucchini because the texture fits right in. The sauce is vegetables and nuts. How awesome is that?! Again, nutritionally dense, and very yummy. My husband and I love this mac and cheese. It tastes very similar to my other vegan mac n cheese  but uses a few different ingredients to keep it gluten free.

 Ingredients

  • 8-10 oz gluten free pasta
  • 1 cup grated zucchini
  • 3/4 cup peeled and cubed russet potato (1 small)
  • 2 TBL sliced carrot (1 very small)
  • 1 tsp white vinegar
  • 1 tsp salt
  • 1/4 cup raw cashews
  • 3/4-1 cup reserved cooking water
  • 2 TBL nutritional yeast
  • 2 TBL tahini
  • 1 1/2 tsp dijon mustard
  • 1 1/2 tsp tomato paste
  • additional salt to taste

Instructions

  1. Cook pasta according to package directions.
  2. During the last minute of cooking throw in the zucchini to soften it before draining everything together.
  3. Meanwhile:
  4. Place potato and carrot in a small saucepan and cover with cold water.
  5. Add the vinegar and 1 tsp salt to water, bring everything to a boil partially covered, and boil for about 10 minutes.
  6. Add the cashews and continue to cook until the potatoes and carrots are completely tender, about 5 minutes more. They are done when they slide off a fork that is inserted into a piece of potato or carrot.
  7. Drain potatoes and carrots reserving at least 3/4 cup of the cooking water.
  8. Transfer potatoes, carrots, cashew, and 3/4 cup cooking water to a blender.
  9. Add nutritional yeast, tahini, mustard, and tomato paste and blend until smooth.
  10. Taste, and adjust salt as needed.